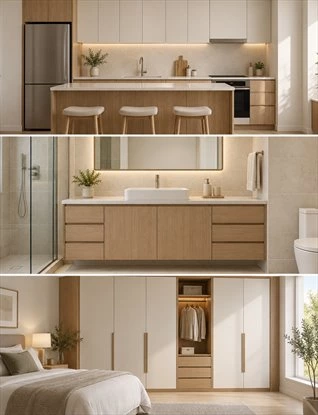
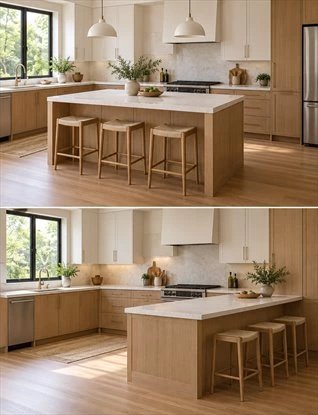
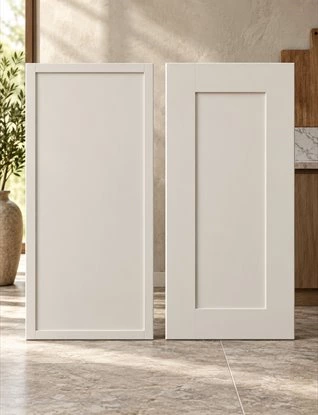
Multifamily cabinet packages are most useful when they describe exactly what will be supplied for each apartment type and room. A project may need kitchen cabinets in every unit, bathroom vanities in selected layouts, and wardrobes in bedrooms with different wall dimensions. Calling all of that a “whole-home package” is not enough to make the scope clear to a developer, designer, contractor or cabinet supplier.
A workable package connects the unit schedule to room-specific drawings, finishes, hardware, internal storage and a list of included and excluded items. It lets the team repeat genuinely identical details while documenting the exceptions that need a different solution. This guide explains how to build that package without assuming that countertops, appliances, mirrors, installation or every other related product are automatically included.
If your immediate question is how to organize a kitchen only, start with ALLURE's apartment kitchen cabinet guide. Here, the focus is the coordination of kitchens, vanities and wardrobes as a clearly defined procurement scope.
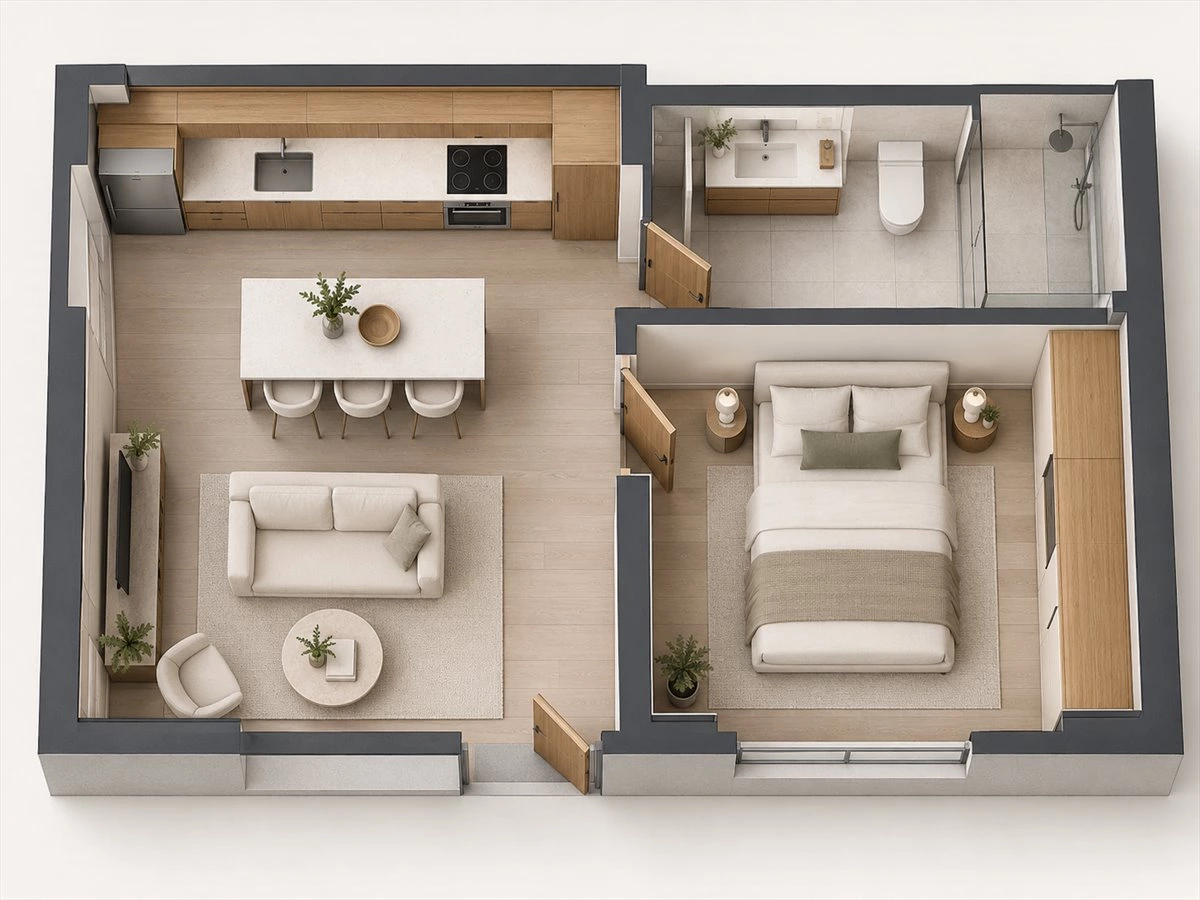
What Is Included in a Multifamily Cabinet Package?
Start with the buildings, unit types and rooms
Before discussing door styles or board materials, identify which buildings, floors and apartment types the proposed package covers. Record the number of units for each type from the current project schedule, and list the rooms included in each one. A studio may have one kitchen run and a single wardrobe, while another unit type may have two vanities or several bedroom wardrobes. The scope must follow the actual plans, not a generic room count.
The same principle applies when a project is developed in phases. Indicate whether the quotation covers one building, a pilot apartment, a floor, or the entire development. A product schedule that does not identify its boundary can be read in different ways by procurement, design and installation teams.
Separate cabinetry from neighboring work
For every room, identify the cabinet bodies, doors, drawers, end panels, fillers, toe kicks, handles and internal fittings being proposed. Then list related elements separately: countertops, backsplashes, basins, sinks, mirrors, lighting, appliances, plumbing, electrical work and installation. Each should be marked included, excluded or pending confirmation. A kitchen rendering may show a stone worktop and appliances, but the image alone cannot establish who supplies them.
Record responsibilities and exclusions
Clarify who provides the final site dimensions, approves service locations, checks wall and floor conditions, receives deliveries, stores the cabinets and performs installation. If another trade supplies a basin or appliance, the cabinet drawings still need its confirmed model and installation data. Defining these interfaces early reduces the risk that a complete-looking cabinet elevation conceals a missing responsibility.
| Scope item | Kitchen | Bathroom | Bedroom | Approval question |
|---|---|---|---|---|
| Cabinet bodies and fronts | List units by layout | List vanity configuration | List wardrobes by room | Which unit types and drawings apply? |
| Internal fittings and hardware | Identify drawers and accessories | Identify access around plumbing | Identify hanging, shelves and drawers | Which models and quantities are included? |
| Related products and work | Worktop, sink, appliances | Basin, top, mirror, lighting | Lighting or adjacent wall work | Included, excluded or supplied by others? |
Start with Unit Types and Resident Needs
Build a unit-type schedule from current plans
Group the apartments using the project's own type codes rather than inventing categories after a quote is prepared. A type schedule should connect each layout to its latest plan revision, room count and confirmed quantity. If one apartment is a mirror image of another, note that relationship explicitly. Mirroring may change hinge direction, drawer access, service positions or the side on which a wardrobe meets a wall.
Describe how the residents will use each room
Owner-occupied apartments, rental homes and serviced units may have different storage and maintenance priorities, but no use category dictates one universal cabinet specification. Ask what residents need to keep in the kitchen, how often a vanity is cleaned, whether bedroom storage needs more hanging or folded-item space, and how replacement components will be identified later. These questions give the package a functional basis beyond a finish schedule.
Repeat only what is genuinely the same
Common cabinet modules can simplify review and ordering when wall dimensions, appliances and services match. Yet two units that look identical on a sales plan may have different service risers, ceiling conditions or site tolerances. A controlled package distinguishes a repeatable base design from approved variations. It should never turn an unverified site condition into a “standard” dimension merely to make the schedule look tidy.
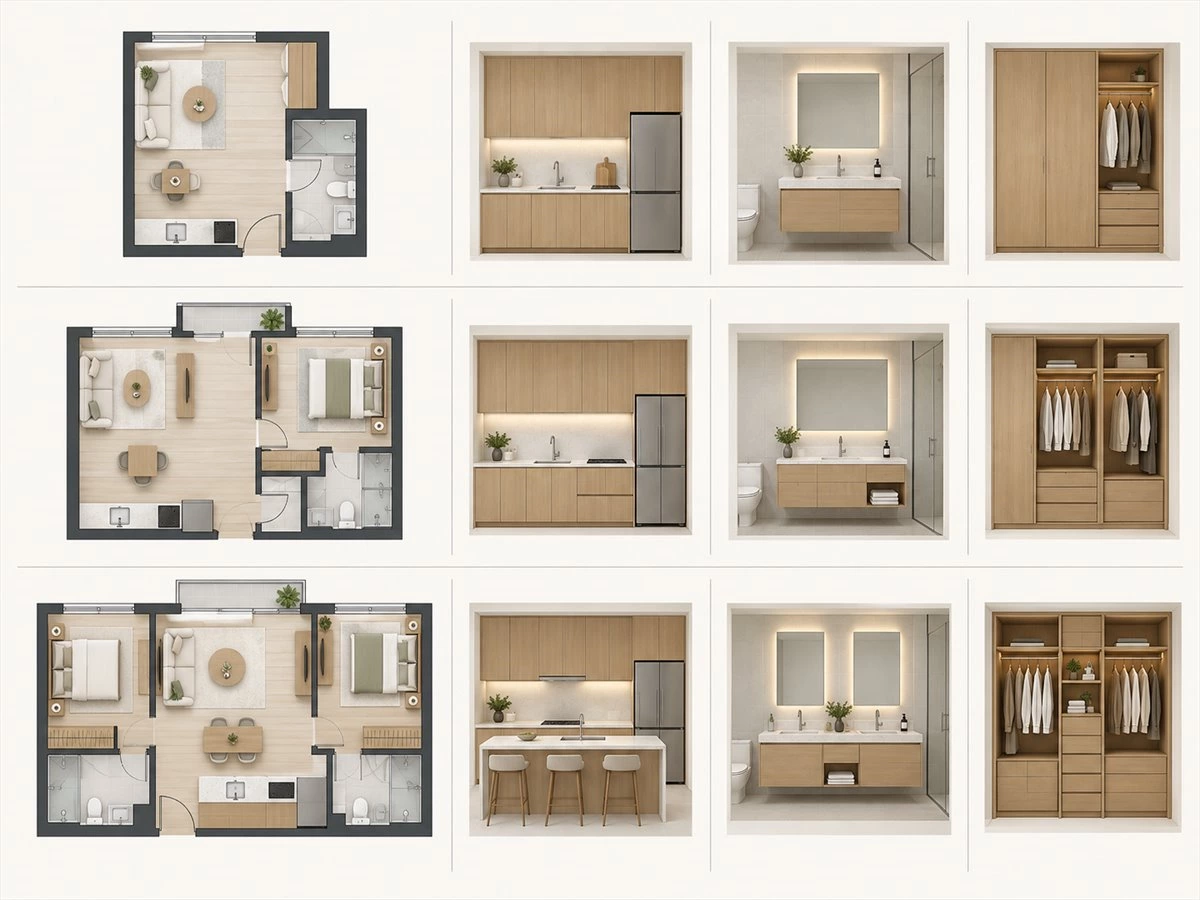
Coordinate Kitchen, Vanity and Wardrobe Storage
Kitchen cabinets: follow the working sequence
Kitchen storage should be planned around the selected appliances, sink, cooking area and the order in which residents prepare and clear meals. Confirm the actual appliance models and service locations before freezing cabinet openings. Identify where food, cookware, tableware, cleaning products and waste sorting will go. In a repeated apartment layout, a small conflict between a drawer and an appliance door can be repeated across many units if it is not caught in the first drawing review.
Bathroom vanities: coordinate basin and service access
A vanity drawing should show the basin, trap and supply positions, usable drawer or door space, mirror relationship and cleaning access. A kitchen-style drawer configuration may not work where plumbing occupies the same internal area. Review exposed edges and finish choices against the room's real use and the supplier's documented material options. Do not assume a finish is suitable for every bathroom merely because it matches the kitchen visually.
Wardrobes: design around the bedroom
Record the bed location, bedroom door, windows, switches and circulation route before choosing the wardrobe front. Hinged doors need usable swing space; sliding doors need overlap and access to the compartments behind them. Divide the interior by actual hanging, shelf and drawer requirements. If the wardrobe wall conceals an access panel or includes lighting, that detail needs its own drawing and scope entry.
Review the apartment as one interior
Once each room works independently, compare the cabinet language across the apartment. A limited set of finishes, door profiles and handles can make the spaces feel connected, but coordination does not require identical cabinet construction or storage inside every room. The kitchen, vanity and wardrobe should respond to their different tasks while following a coherent project palette.
Decide What to Standardize and What to Vary
Establish a repeatable base specification
Where the project conditions allow it, standardize cabinet module references, door profiles, finish codes, hinge and slide references, drawing conventions and packing identification. This creates a known base from which the team can review design changes and replacement requests. “Same as the sample apartment” is not precise enough unless the approved sample and its revision are identified.
Create a controlled option schedule
Some apartment types may require a different wardrobe width, an additional vanity or a different finish. Record each as an option tied to the applicable unit type, room and drawing revision. Specify whether an option replaces or adds to the base package. Avoid descriptions such as “premium unit” or “similar wood color” without a corresponding approved specification.
Separate exceptions from standard production
Accessible layouts, unusual wall returns, service conflicts and penthouse conditions may need separate review. List them as exceptions with an owner, drawing reference and approval status. That protects the repeatable package from informal changes while allowing the project to respond to real site differences.
Compare Finishes and Hardware as Complete Packages
Compare like-for-like assemblies
A door-front price alone does not describe the complete cabinet. Compare the cabinet body, exposed panels, edge treatment, door finish, hinges, slides, handles and internal accessories included in each proposal. A lower material price can be offset by different hardware, added finishing pieces or an omitted fitting. Ask the supplier to quote against the same itemized schedule so procurement is comparing equivalent scopes.
Use physical samples and codes
Renderings are useful for seeing how rooms relate, but a finish decision needs physical samples reviewed under relevant lighting. Record the sample's name or code, approval date and the areas where it applies. Specify the handle and hardware references with equal care. If a material or finish is substituted, the project record should show the reason, affected unit types and approval.
Plan for later service
Replacement fronts, hinges and slides are easier to identify when the project keeps a finish schedule and component references. Discuss the availability and ordering process for spare parts under the actual supplier terms. Do not assume a component will remain available indefinitely or promise a service period that has not been agreed in writing.
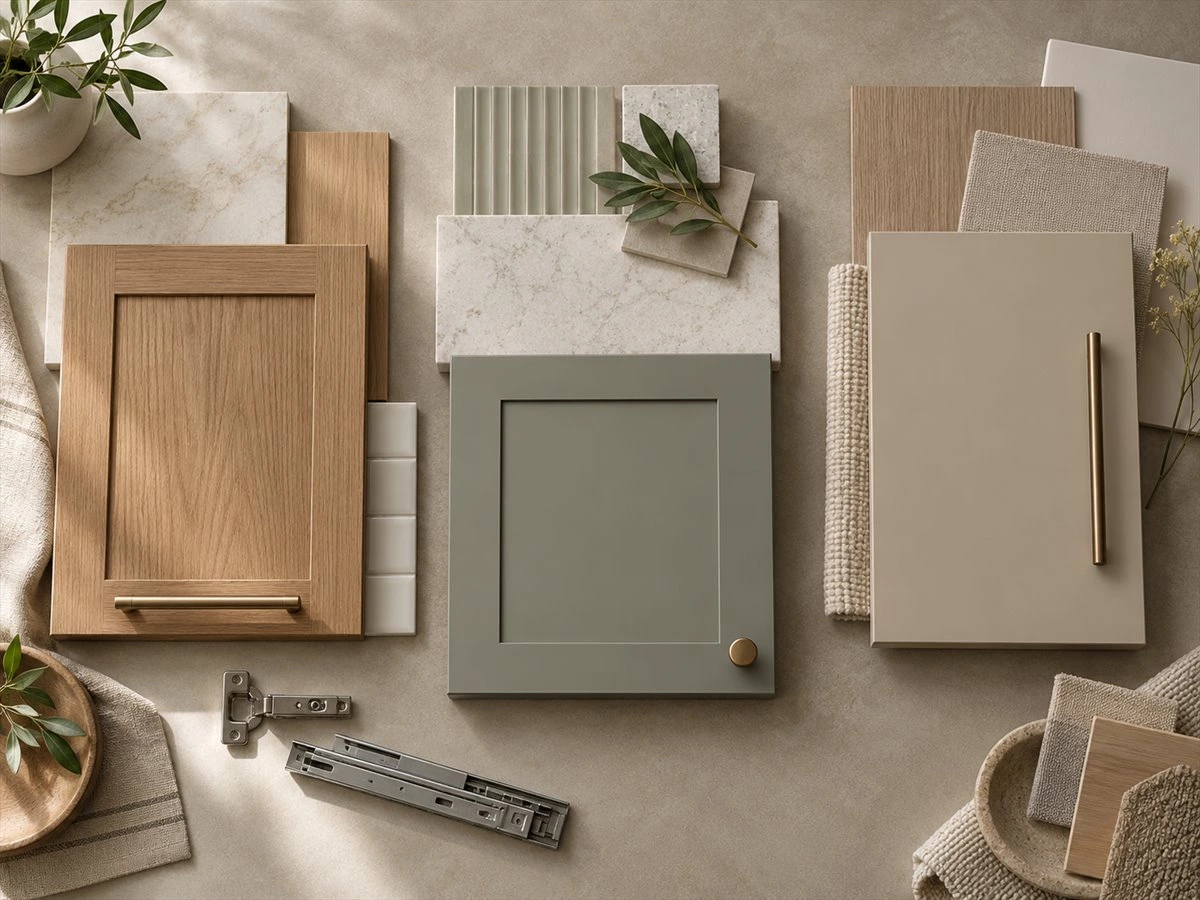
Check Appearance and Function Across Rooms
Walk through a representative apartment on the drawings
Review the apartment in the order a resident encounters it: entry, kitchen, bathroom and bedroom. Check the visible transitions between cabinet finishes and nearby walls, doors and floors. A coherent palette can connect the rooms, but it should not conceal a wardrobe that blocks a switch or a vanity whose drawers cannot open because of the bathroom door.
Test access with everything in use
Show refrigerator and dishwasher doors open, vanity drawers extended and wardrobe doors in their operating positions. Check adjacent light switches, sockets, mirrors and cleaning access. When a room is compact, a few centimeters on a drawing can affect whether a handle catches another front or whether a resident can reach the back of a compartment. Final clearances must come from the measured project and selected equipment, not a generic illustration.
Approve drawings at the correct stage
Distinguish a design visualization from a tender drawing, a coordinated shop drawing and an approved production drawing. Each has a different purpose. The final release should identify unit types, rooms, dimensions, materials, hardware, interfaces and revisions according to the project's approval process. A beautiful rendering alone cannot settle the cabinet scope.
Use Project Examples Without Expanding Their Scope
AC1 Sintra: a coordinated room-language example
ALLURE's AC1 Sintra apartment case lists kitchen cabinets, bathroom cabinets and wardrobes in its product summary. Its white-led cabinet direction and darker kitchen work-zone contrast show one way to coordinate rooms without making them identical. It is a reference for visual and room-scope thinking—not a published standard package price, an apartment quantity commitment or proof that every future project includes all three rooms.
Ethiopia apartments: controlled variation across rooms and floors
The Ethiopia multi-floor apartment case illustrates that cabinet configuration can vary by location and intended use within a project. The lesson for package planning is to record which solution belongs to which room or floor. Do not treat all photographs in a case as a single repeated apartment specification without a corresponding project schedule.
Sydney apartments: a wardrobe-focused scope
ALLURE's Sydney fitted-wardrobe case identifies wardrobes as the supplied product. It is relevant when discussing repeated-unit wardrobe layout, door choice and installation coordination. It should not be presented as evidence that kitchens or vanities were supplied for the same apartments.
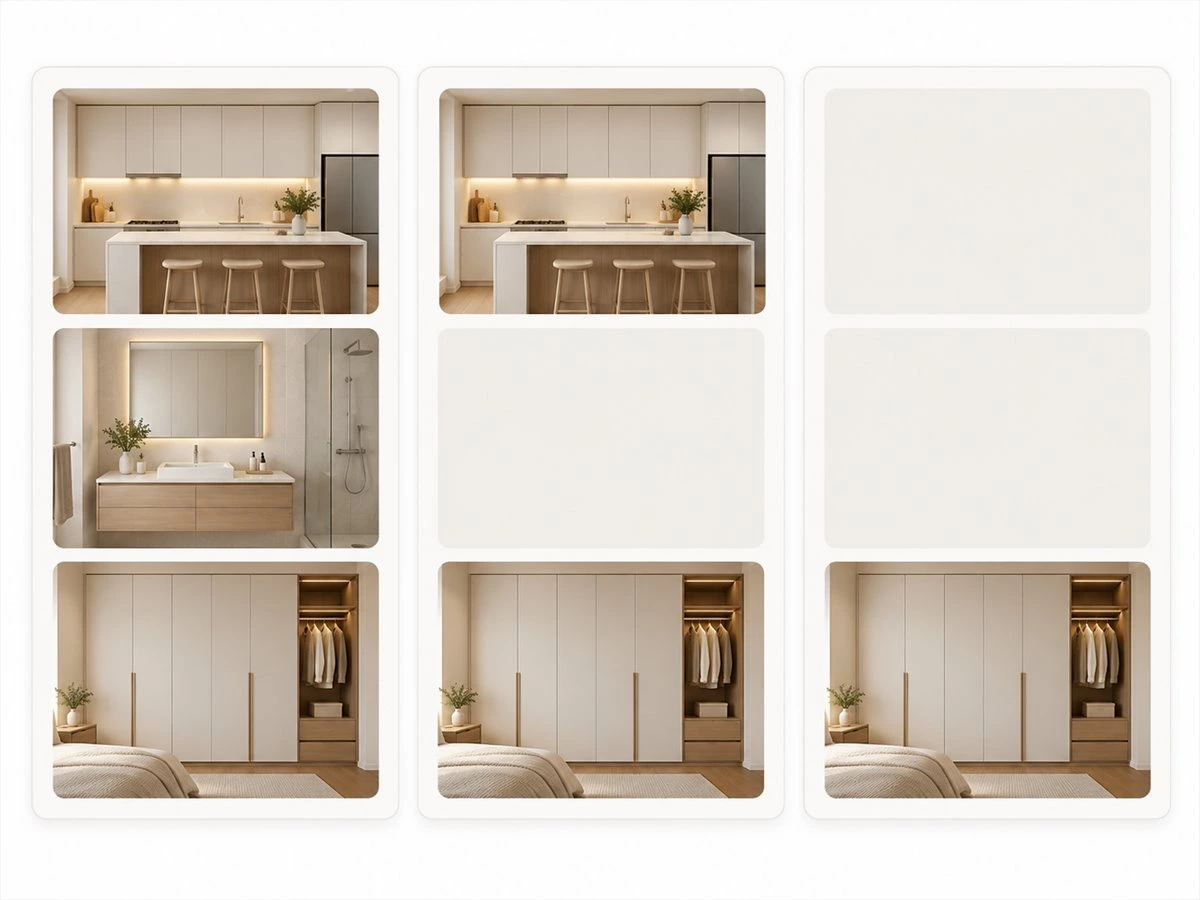
FAQs About Multifamily Cabinet Packages
Do multifamily cabinet packages always include kitchens, vanities and wardrobes?
No. A package includes only the rooms and products identified in the agreed scope of supply. Use the unit-type and room schedule to make every inclusion explicit, and record related items supplied by other parties separately.
Can different apartment types use the same cabinet specification?
They can share confirmed finishes, hardware or modules, but the layouts must be checked against each type's dimensions, appliances, services and resident needs. A mirrored plan may also need its own opening-direction review.
Should every unit have the same cabinet finish?
Not necessarily. A controlled finish schedule can maintain a coherent project identity while allowing documented variations by unit type or room. Each variation needs an approved code and a clear location in the schedule.
Are countertops, appliances and installation included?
Only if the quotation and contract documents expressly include them. Product images may show these elements without establishing who supplies or installs them. Mark each one included, excluded or pending confirmation before comparing proposals.
What information is needed for a reliable quotation?
Provide current unit-type plans and quantities, room elevations, appliance and basin information, proposed finishes, required internal fittings, site location and delivery conditions, and a list of requested services. Identify open decisions so the quotation can state its assumptions.
When is the package ready for production?
Production release should follow the project's documented approval process. Confirm dimensions, site interfaces, drawings, samples, quantities, hardware, responsibilities and any exceptions before treating the package as final.
Build a Configuration Table Before You Request a Price
A project configuration table turns “kitchens, vanities and wardrobes” into a reviewable scope. Begin with one line per unit type and room. Connect each line to the current plan and elevation, then add included fittings, exclusions and approval status. Replace the illustrative entries below with real project data; they are not ALLURE product specifications or a standard price list.
| Unit type | Room | Drawing and layout | Cabinet and finish scope | Hardware and internal fittings | Included / excluded / pending | Approval status |
|---|---|---|---|---|---|---|
| Project type A | Kitchen | Current revision to insert | To confirm | To confirm | To confirm | Open |
| Project type A | Bathroom | Current revision to insert | To confirm | To confirm | To confirm | Open |
| Project type A | Bedroom | Current revision to insert | To confirm | To confirm | To confirm | Open |
Add new rows when another unit type, room or approved option changes the cabinet scope. Do not combine unlike configurations in one quantity simply to shorten the spreadsheet. The table should make it possible to trace every proposed cabinet back to a room, drawing and approval.
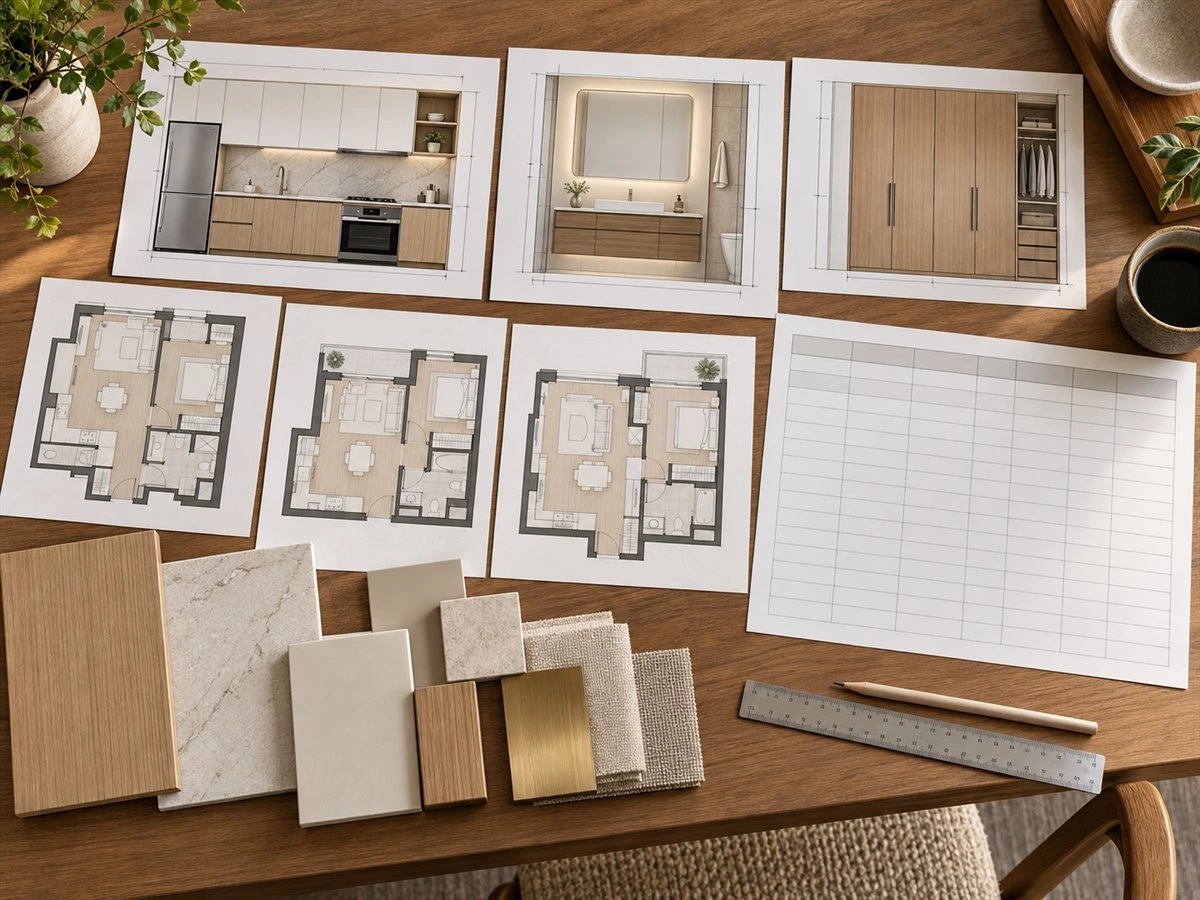
Plan the Package Around Evidence, Not a Label
A strong multifamily cabinet package is not defined by how many rooms appear in a rendering. It is defined by a traceable unit schedule, room-by-room cabinet scope, controlled variations, coordinated drawings and clear responsibilities. When those are in place, the developer and supplier can discuss finishes, options and cost against the same documented proposal.
Planning a multi-unit residential project? Share your current unit-type drawings, quantities, rooms in scope, appliance and basin information, target finishes and procurement schedule with ALLURE. The team can review a possible cabinet scope and identify which details still need confirmation. A preliminary discussion is not a fixed quotation or production approval.