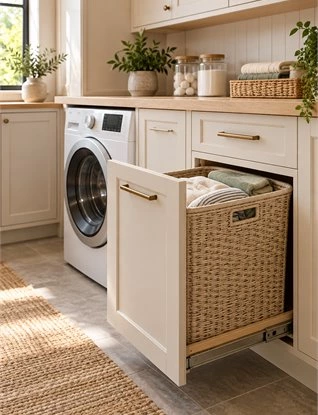
Installing kitchen cabinets is not simply a matter of placing cabinet boxes against a wall. Accurate installation affects countertop fit, appliance clearance, door alignment, drawer movement, storage performance, and the finished appearance of the entire kitchen. Even well-made cabinets can look uneven or work poorly when the floor, wall, fixing points, and final adjustments are not handled carefully.
This kitchen cabinet installation guide explains the planning and installation process for base cabinets, wall cabinets, tall pantry units, and appliance housings. It is designed to help homeowners, builders, designers, and project managers understand the sequence of work, identify common risks, and prepare for a smoother installation.
Cabinet installation should always follow the approved cabinet drawings, the cabinet manufacturer’s instructions, local building requirements, and appliance specifications. Electrical wiring, gas, plumbing alterations, structural wall changes, and heavy stone countertop installation should be completed or reviewed by qualified professionals.

Before You Start: Decide Whether to Use a Professional Installer
A simple kitchen with straight walls, a level floor, standard cabinets, and no complex appliance integration may be suitable for an experienced installer or skilled DIY homeowner. However, a larger kitchen can include tall pantry cabinets, islands, appliance towers, uneven walls, stone countertops, concealed lighting, plumbing cutouts, and multiple trades. In these cases, professional installation often reduces risk and avoids expensive corrections later.
When a Skilled DIY Installation May Be Suitable
A smaller installation may be manageable when the cabinet layout is simple, the room has already been prepared, and the installer is comfortable with measuring, leveling, drilling, clamping, and fitting cabinet components. The work still requires patience. Cabinet installation is highly visible, so small inaccuracies in the first cabinet can affect the entire run.
When Professional Installation Is the Better Choice
Professional support is especially valuable for large kitchens, high wall cabinets, tall appliance housings, full-height pantry units, wall-to-wall cabinetry, or custom islands. It is also recommended when floors are uneven, walls are not straight, or the kitchen requires coordination with electricians, plumbers, countertop fabricators, and appliance installers.
Kitchen planning guidance from organizations such as the National Kitchen & Bath Association can help designers and installers consider clearances, accessibility, cabinet planning, and overall functionality. However, local codes and product-specific installation instructions should always take priority.
Prepare the Room Before Cabinets Arrive
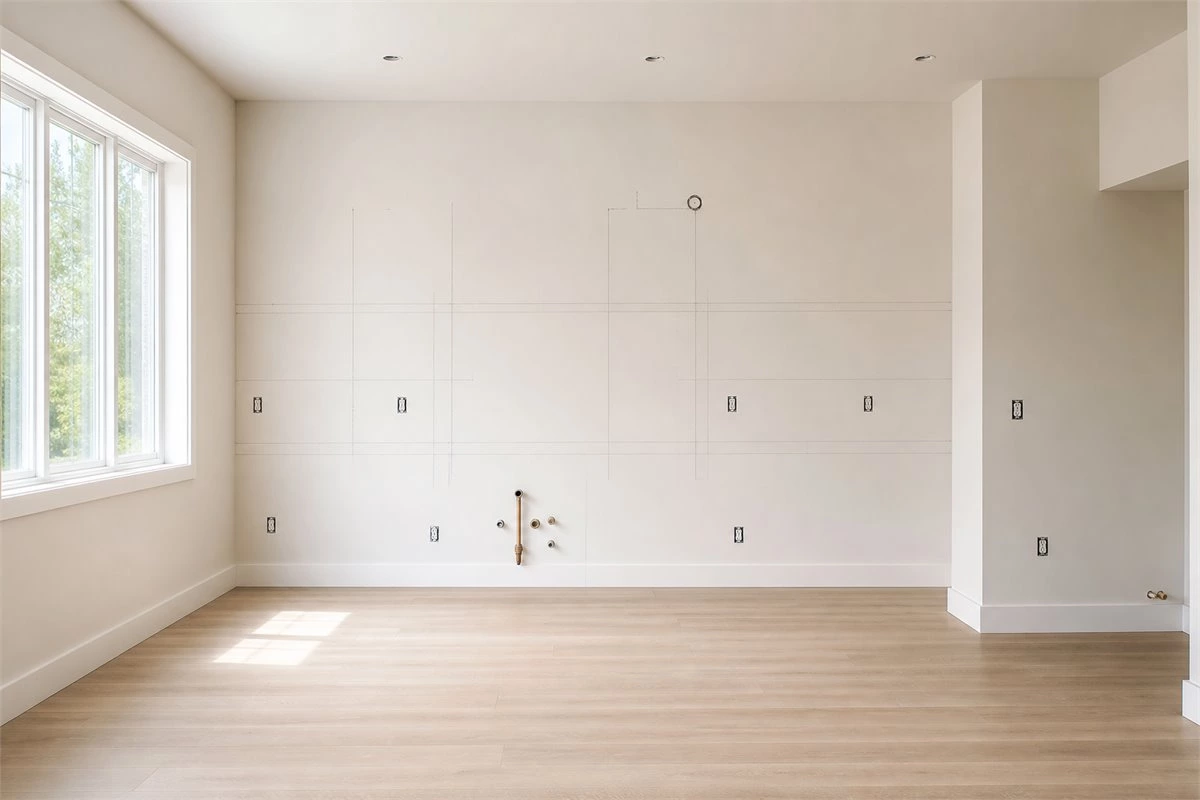
Good installation begins with a clean, dry, measured, and accessible room. Complete major wall repairs, flooring decisions, service rough-ins, and painting plans before cabinets are fixed whenever possible. Cabinets should not be used as temporary storage for construction materials, and their surfaces should be protected from moisture, dust, and impact damage.
Check the Floor and Walls
Floors are rarely perfectly level, especially in renovation projects. Check the room for high and low points before positioning the first base cabinet. The highest floor point is particularly important because it becomes the reference for the finished cabinet and countertop level. If this step is skipped, cabinets may appear level at one end but create a sloping countertop or appliance opening farther along the run.
Walls should also be checked for bows, irregular corners, pipes, cable routes, vents, and other obstructions. A wall that appears straight from a distance may still require fillers, scribing, shims, or careful cabinet positioning. Measure wall lengths at more than one height rather than assuming every corner is square.
Confirm Cabinet Dimensions and Appliance Specifications
Before installation begins, compare the cabinet plan with actual appliance dimensions. Refrigerators, ovens, dishwashers, range hoods, cooktops, and sinks all require specific openings, ventilation allowances, service access, and door-clearance space. For basic planning reference, see this kitchen cabinet sizes guide; final dimensions should still follow the approved drawings and appliance manuals.

Gather the Right Tools and Materials
The exact tools depend on the cabinet system and wall construction, but accurate measuring and leveling equipment are essential. A long spirit level or laser level, tape measure, pencil, straightedge, clamps, shims, suitable drill bits, screwdrivers, and cabinet fixing screws are commonly required. Use protective covering to keep cabinet doors, panels, and floors safe during installation.
Do not select screws, anchors, or brackets based on appearance alone. Their suitability depends on the wall structure, cabinet weight, and manufacturer requirements. Confirm the correct fixing method before drilling, particularly for wall cabinets and tall units.
| Installation Need | Typical Tool or Material | Why It Matters |
|---|---|---|
| Measuring and marking | Tape measure, pencil, straightedge, laser level | Helps establish accurate cabinet, countertop, and wall-cabinet reference lines. |
| Leveling cabinets | Long spirit level, laser level, shims | Prevents uneven countertops, doors, drawers, and appliance openings. |
| Joining cabinet boxes | Clamps and suitable connecting screws | Keeps cabinet faces flush before final fixing. |
| Wall and cabinet fixing | Appropriate screws, anchors, and drill bits | Supports stable, safe installation based on the wall construction. |
Measure the Room and Mark Reference Lines
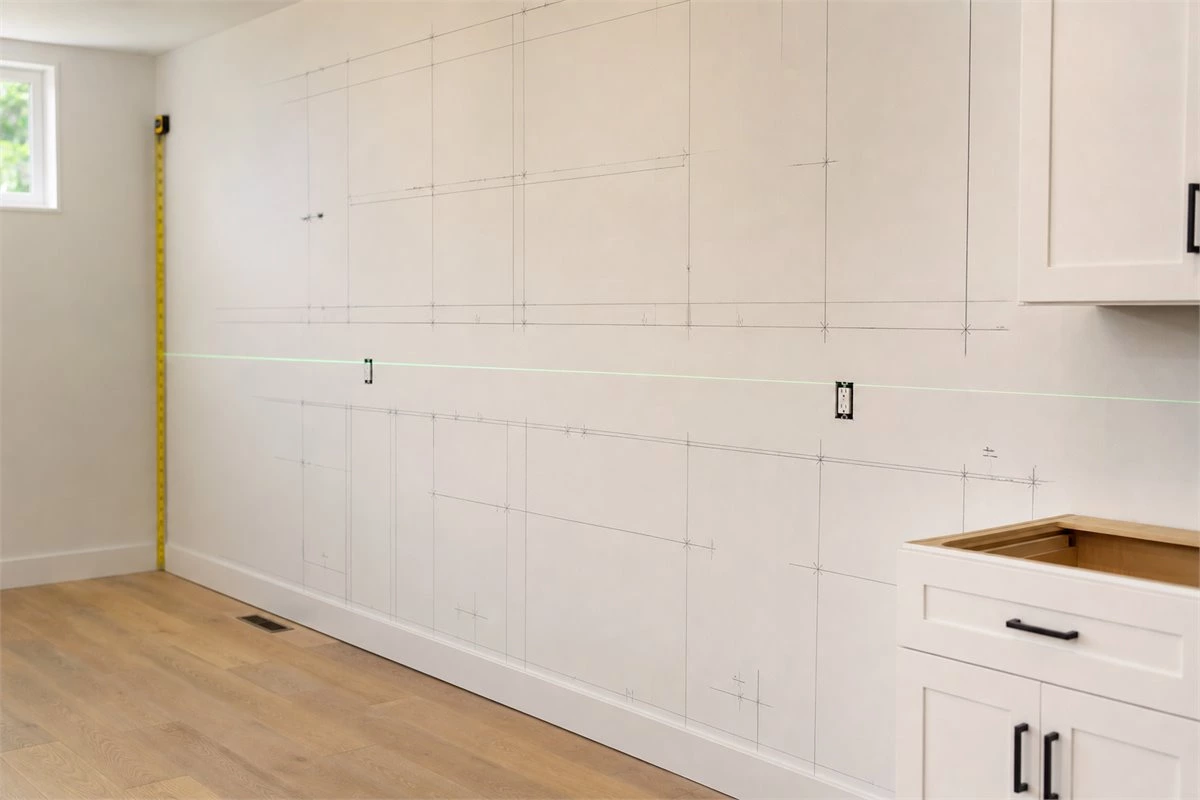
Reference lines turn a complicated kitchen into a clear installation plan. Marking should be completed before cabinets are permanently fixed. It allows the installer to see where cabinets, countertops, wall units, appliance openings, and service points will sit.
Find the Highest Point of the Floor
Use a level or laser to compare floor height across the entire cabinet run. Start base cabinet leveling from the highest point rather than attempting to force all cabinets down to the lowest point. Low areas can be adjusted with shims beneath the cabinets, while the finished countertop line remains consistent.
Mark Base Cabinet and Countertop Heights
Mark the planned finished countertop level on the wall, then work downward to establish the base cabinet position. This process helps account for the cabinet box, toe-kick, countertop thickness, and floor variations. Check the approved drawings before choosing any finished height, especially when the project includes a thick stone countertop or a custom island.
Mark Wall Cabinet Position and Fixing Areas
Mark the bottom line of the wall cabinets and confirm the distance to the countertop, range hood, backsplash, windows, and appliances. Identify suitable fixing areas in the wall before cabinet lifting begins. Never assume that a visible wall finish alone can safely support a loaded cabinet.
Review the Cabinet Layout and Installation Order
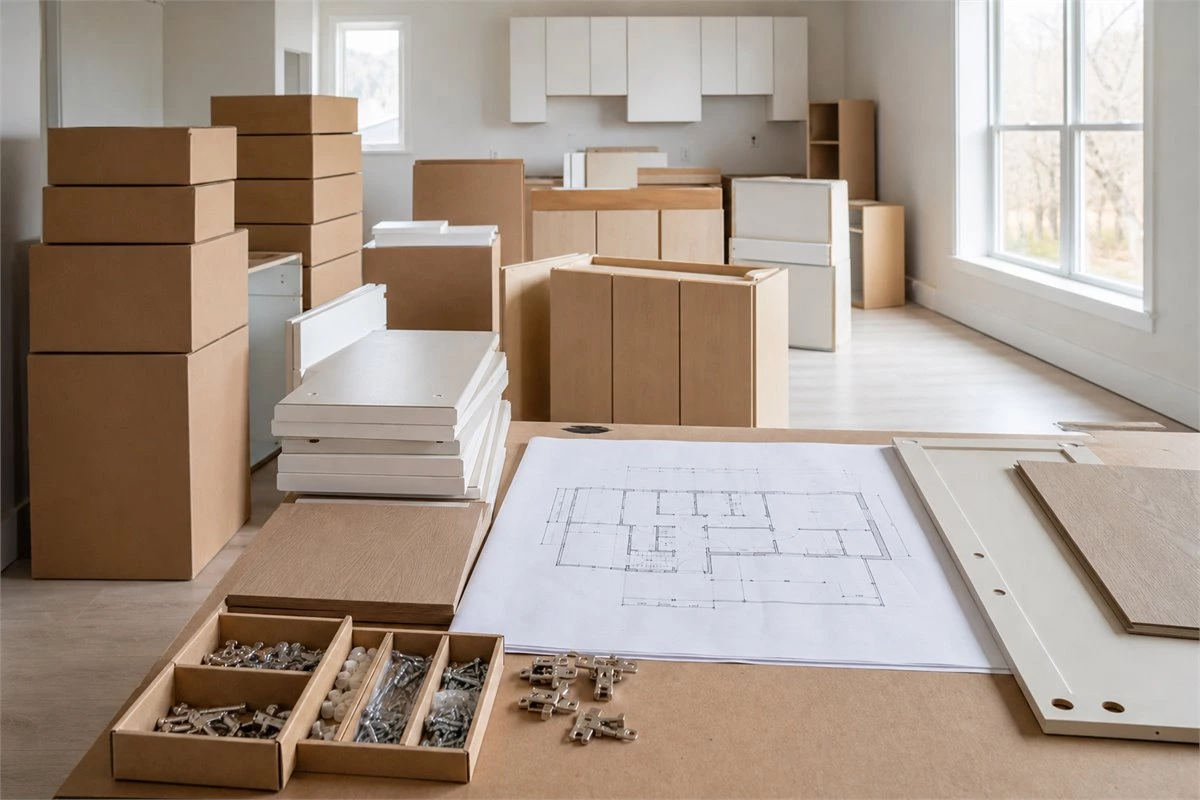
Open cabinet packages in a controlled sequence. Match each cabinet to the approved floor plan, elevation drawing, or numbered installation layout. Separate base cabinets, wall cabinets, tall units, doors, drawer fronts, fillers, end panels, handles, and hardware so that important parts are easy to find when needed.
Start from a reliable reference point, usually a corner cabinet, a main base cabinet, or a tall unit shown on the approved plan. Install outward from that point rather than fitting cabinets in the order they were unpacked. This reduces the chance of reaching the final cabinet and discovering that an earlier error has created a large gap.
Appliance cabinets, sink cabinets, corner units, and tall pantry cabinets deserve additional attention because they affect nearby doors, clearances, and service connections. If the project includes custom cabinetry, review the drawings before production and installation. This is also one reason why careful planning matters when buying custom cabinets; see these common custom kitchen cabinet buying mistakes.
Should You Install Wall Cabinets or Base Cabinets First?
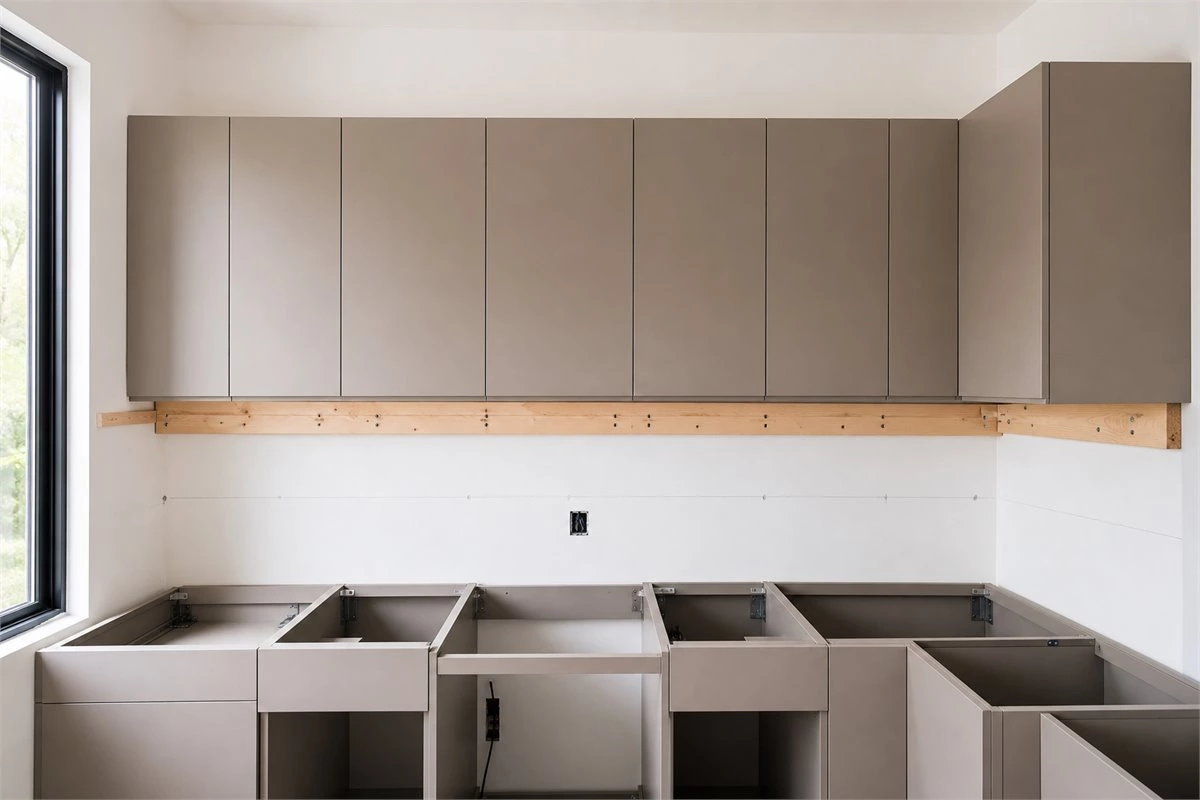
There is no single sequence that suits every project. Many installers choose to install wall cabinets before base cabinets because it leaves the floor area open, makes lifting and positioning easier, and reduces the risk of damaging finished base cabinets while working overhead. A temporary support board can help hold wall cabinets at the planned height during fitting.
In other projects, base cabinets may be installed first because they establish the main room layout, appliance locations, island position, or countertop reference. The best sequence depends on the room condition, cabinet system, installation team, and project schedule.
The key principle is consistency: every cabinet should be positioned from clear level lines and checked before permanent fixing. Do not rush the first cabinet. Its level, position, and face alignment influence every cabinet that follows.
How to Install and Level Base Cabinets
Base cabinets support countertops, sinks, cooktops, drawers, and many built-in appliances. Their installation must be level from side to side and front to back. A visually attractive kitchen can still perform poorly if the base cabinets are not properly leveled.
Start at the Main Reference Cabinet
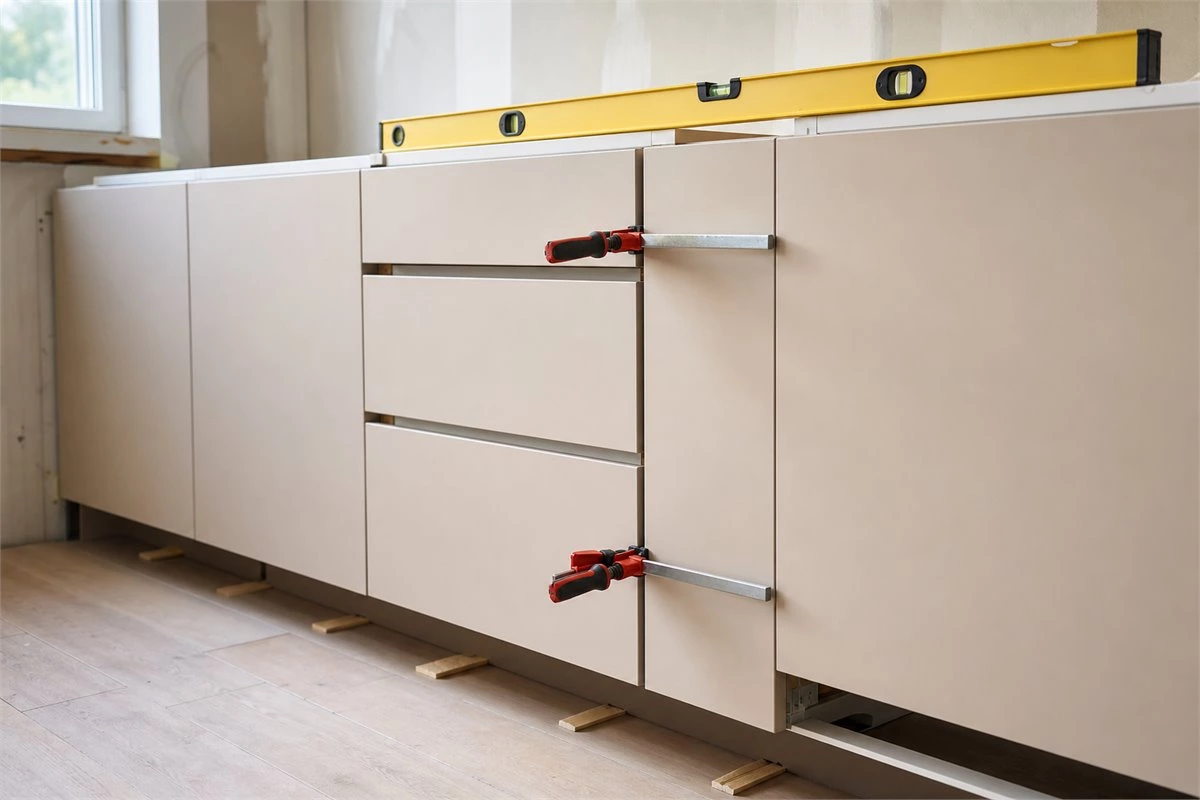
Position the first cabinet according to the marked reference lines. Check its height, level, wall position, and front alignment before moving on. Use shims where needed to compensate for low areas in the floor. Shims should provide stable support rather than create a temporary or uneven base.
Join Adjacent Cabinets Carefully
Place the next cabinet beside the installed unit and check that the cabinet faces are flush. Clamp the two cabinets together before joining them, then confirm that both units remain level. Use appropriate cabinet connecting hardware or screws according to the cabinet construction. Recheck alignment after every connection rather than waiting until the entire run is installed.
Fix the Cabinet Run Securely
Once the cabinet positions are correct, secure the units according to the wall structure, cabinet manufacturer’s instructions, and approved installation method. Recheck the cabinet run before adding fillers, end panels, toe kicks, or countertops. These finished pieces should be fitted after the main cabinet boxes are stable and aligned.
How to Install Wall Cabinets Safely and Accurately
Wall cabinets need careful handling because they must be positioned at the correct height and securely fixed. Their final appearance depends on level lines, cabinet-to-cabinet alignment, wall condition, and adequate support during installation.
Use Temporary Support During Positioning
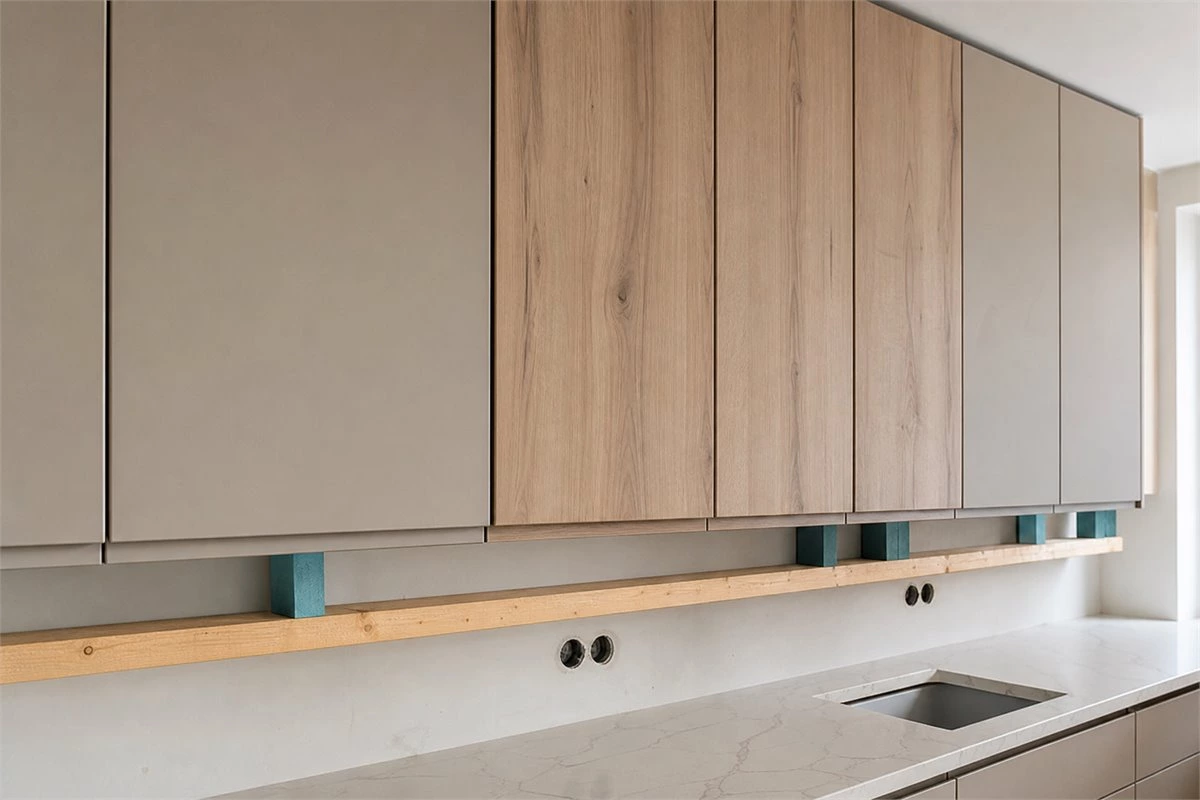
A level support board or other suitable temporary support can help hold wall cabinets at the planned height while they are aligned and fixed. This allows the installer to check the cabinet position before completing final connections. The support itself must be level and securely positioned.
Check Alignment Before Final Fixing
Clamp adjacent wall cabinets so their faces align. Check that doors will open correctly near corners, tall cabinets, range hoods, or walls. Confirm that the cabinet bottoms follow the marked reference line and that the full run appears level when viewed from across the room.
Do Not Ignore Cabinet Load
Wall cabinets may later hold dishes, glassware, pantry items, and small appliances. Their fixing method must be appropriate for the cabinet weight, stored load, and wall construction. If the wall condition is uncertain, stop and obtain advice from a qualified installer or building professional before proceeding.
Install Tall Cabinets and Appliance Housings with Extra Care
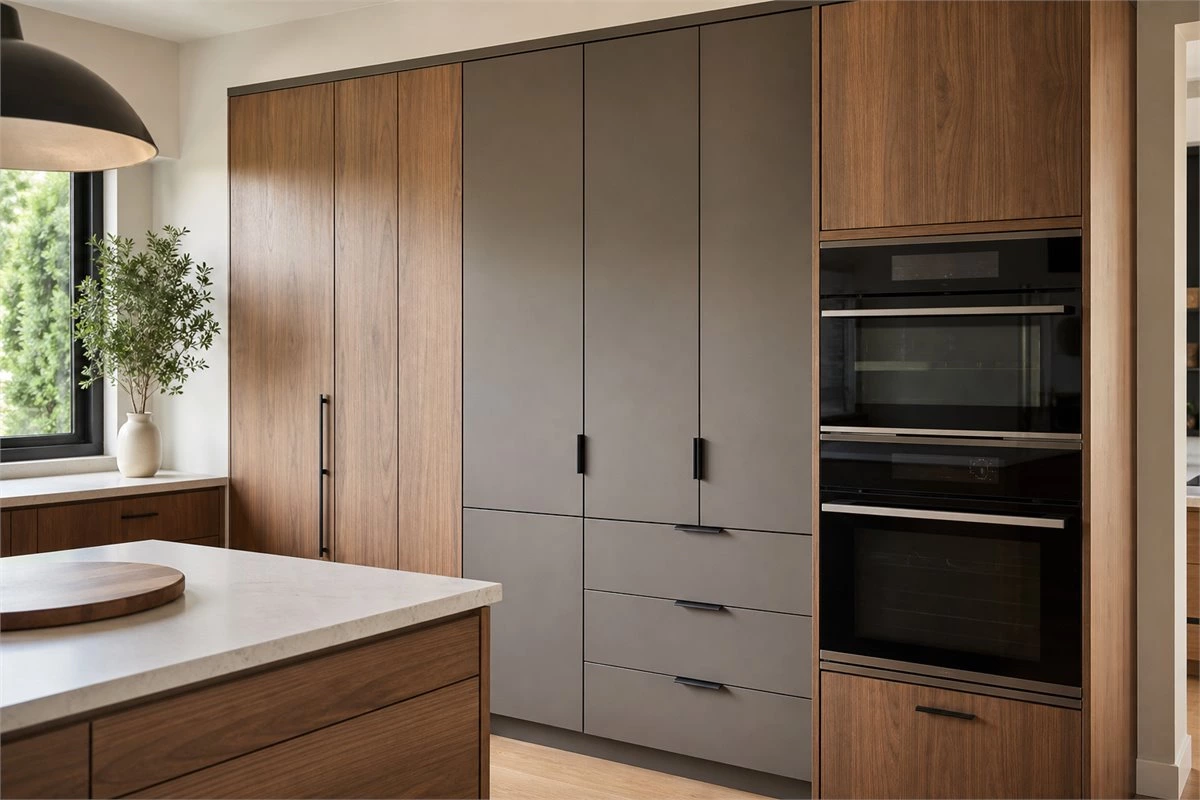
Tall pantry cabinets, refrigerator panels, oven housings, and full-height storage units create a strong visual line in the kitchen. They also require careful checking because even a small out-of-plumb position can become obvious over the height of the cabinet.
Check the unit’s height, wall position, door swing, appliance opening, ventilation allowance, and relationship to adjacent cabinets before fixing it. Tall units should be stable and securely fixed according to the approved method. Do not rely on neighboring base cabinets alone to prevent movement.
For built-in ovens, refrigerators, and other appliances, follow the appliance manufacturer’s instructions for ventilation, service access, and required clearances. Avoid covering vents, blocking access panels, or assuming that every appliance uses the same opening dimensions.
Adjust Doors, Drawers, and Hardware for a Finished Look
The final adjustment stage transforms a cabinet installation from functional to refined. Cabinet doors, drawer fronts, handles, and pull-outs should all be checked after the main cabinet boxes are fixed. Small adjustments can correct uneven gaps, rubbing doors, drawers that do not close smoothly, or handles that appear visually inconsistent.
Adjust Concealed Hinges
Most concealed hinges allow adjustment in several directions. This helps align door height, side gaps, and door depth. Work slowly and make small changes. After each adjustment, close the door and compare the gap with nearby cabinet fronts.
Check Drawer Movement and Front Alignment
Open each drawer fully and check that it moves smoothly without rubbing the cabinet sides. Confirm that drawer fronts form clean horizontal lines across the cabinet run. Soft-close and push-to-open systems should be tested after final adjustment, especially on wide or heavy drawers.
Install Handles Only After Confirming the Layout
Use a template or measured guide to keep handles and pulls consistent. Test the handle position on one door or drawer front before drilling every cabinet. This is especially important for long pulls, edge pulls, and coordinated handle systems in modern kitchens.
For a detailed look at drawer slides, hinges, pull-out storage, and handleless systems, link this article to your published kitchen cabinet hardware guide.
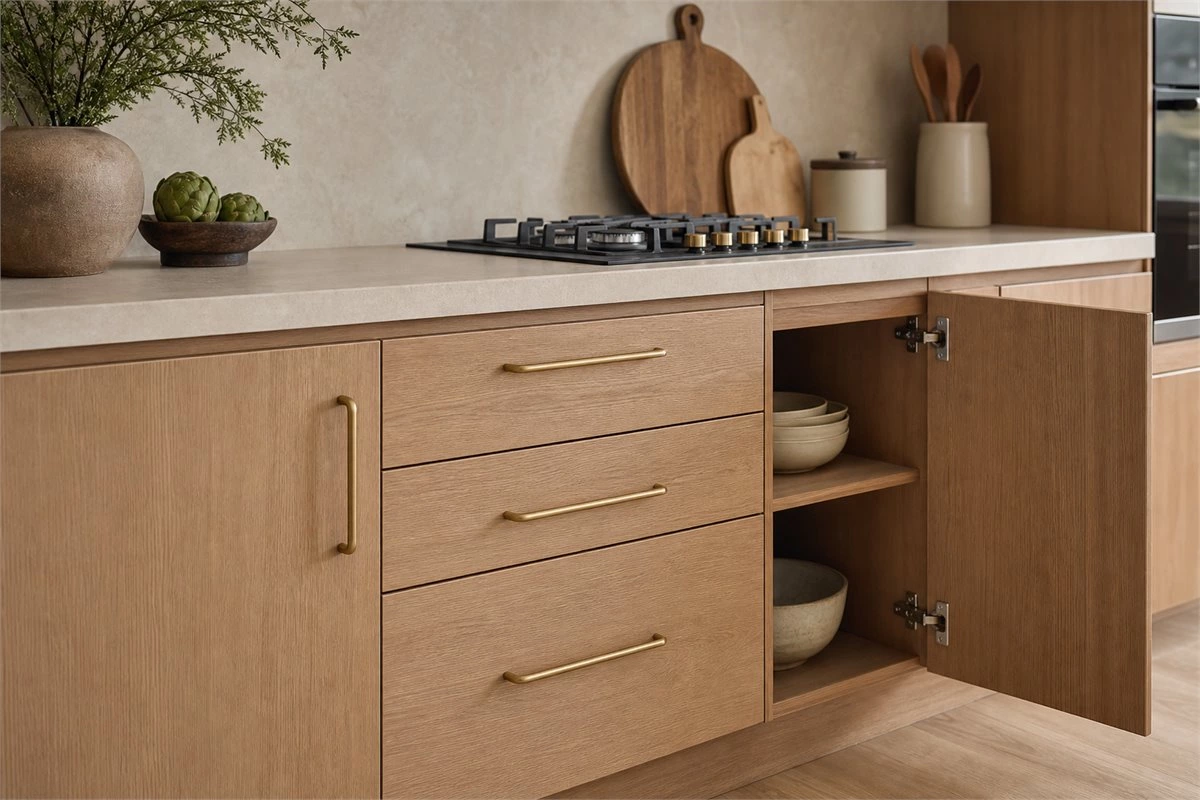
Prepare for Countertops, Sinks, and Appliances
Countertops should be measured or installed only after base cabinets are stable, level, and securely connected. A countertop can only perform as well as the cabinet support below it. Recheck the full cabinet run, island, end panels, and appliance openings before countertop templating or installation.
Sink and cooktop cutouts should be confirmed against the actual product specifications. Cabinet interiors near sinks need protection from water exposure, and cut edges should be properly sealed where required. Plumbing, electrical outlets, gas connections, and appliance commissioning should be completed by qualified trades according to local requirements.
Common Kitchen Cabinet Installation Mistakes to Avoid
- Skipping the floor-level check: This can create sloping countertops, uneven doors, and appliance-fit problems.
- Fixing cabinets too early: Always check level, plumb, and face alignment before permanent fixing.
- Cutting fillers and end panels too soon: Fit them after the cabinet run is level and secure.
- Ignoring appliance clearances: Check door swing, ventilation, service access, and manufacturer specifications.
- Using an unsuitable wall fixing method: Wall condition and cabinet load must be considered before fixing upper cabinets.
- Leaving door and drawer adjustment until the very end: Final hardware adjustment is essential for a refined result.
- Failing to protect cabinet surfaces during construction: Dust, water, impacts, and sharp tools can damage finishes before the kitchen is complete.
Final Kitchen Cabinet Installation Checklist
- The room is clean, dry, measured, and ready for installation.
- Floor and wall conditions have been checked before cabinet fixing.
- Base cabinets are level from side to side and front to back.
- Wall cabinets and tall units are aligned and securely fixed.
- Cabinet faces are flush, and gaps between doors are consistent.
- Drawers open smoothly, and door hinges are correctly adjusted.
- Appliance openings, ventilation, and door clearances are confirmed.
- Countertop support is stable and level.
- Fillers, toe kicks, end panels, and trims are fitted neatly.
- Cabinet interiors and visible surfaces are cleaned before final handover.
FAQ About Kitchen Cabinet Installation
Do kitchen cabinets need to be perfectly level?
Base cabinets should be level before countertops, sinks, and appliances are installed. A level cabinet run helps doors and drawers operate correctly and supports a clean finished appearance.
Should wall cabinets or base cabinets be installed first?
Many installers fit wall cabinets first to keep the floor area clear, while others install base cabinets first to establish the main layout. The correct sequence depends on the room, cabinet system, installation method, and approved project plan.
Can kitchen cabinets be installed on uneven floors?
Yes, cabinets can often be installed on uneven floors when the cabinet run is properly planned, leveled, and supported. The highest floor point should be identified first, and suitable shimming or adjustment methods should be used where necessary.
How are kitchen cabinets fixed to the wall?
Cabinets should be fixed using a method suitable for the wall construction, cabinet weight, and manufacturer’s instructions. Wall cabinets and tall units require particular care because they carry both cabinet weight and stored contents.
When should countertops be measured?
Countertops should be measured after base cabinets, islands, end panels, and support structures are installed, leveled, and secure. Measuring too early can lead to inaccurate countertop fabrication.
How do you adjust cabinet doors after installation?
Most concealed hinges allow small adjustments to door height, side position, and depth. Make gradual changes, close the door after each adjustment, and compare the gap with nearby doors for a consistent result.
Conclusion: Installation Accuracy Protects Your Kitchen Investment
A finished kitchen should look balanced, open smoothly, support appliances properly, and remain comfortable to use every day. That outcome depends on accurate measuring, careful leveling, secure fixing, and patient final adjustment.
Use this kitchen cabinet installation guide to understand the complete process before work begins. By planning cabinet order, checking room conditions, protecting clearances, and reviewing every detail before countertops and appliances are installed, you can create a kitchen that looks refined and performs reliably for years.