Key Takeaways
The right floating bathroom vanity height starts from the finished floor, then coordinates the countertop, basin rim, users, plumbing, drawers, mirror, lighting, and wall-fixing system. A floating vanity may look clean in a rendering but fail in daily use if the vessel basin makes it too high, the drain cuts through the drawers, or the wall is not prepared for the cabinet and countertop load.
A floating vanity can make a bathroom feel larger because it exposes more floor and creates a clean horizontal line. That visual benefit disappears when the cabinet is mounted at the wrong height, the mirror is positioned for the wall instead of the user, drawers collide with plumbing, or the fixing system is considered after the tiles are complete.
This guide explains floating bathroom vanity height for homeowners, designers, builders, developers, and buyers planning custom bathroom cabinets. It covers finished-floor references, basin types, cabinet clearance, plumbing, wall support, mirror placement, lighting, storage, materials, and drawing approval. The dimensions discussed are planning references. Final structural fixing, plumbing, electrical work, waterproofing, accessibility, and installation requirements must follow the project drawings, product instructions, and applicable local requirements.
Floating Bathroom Vanity Height at a Glance
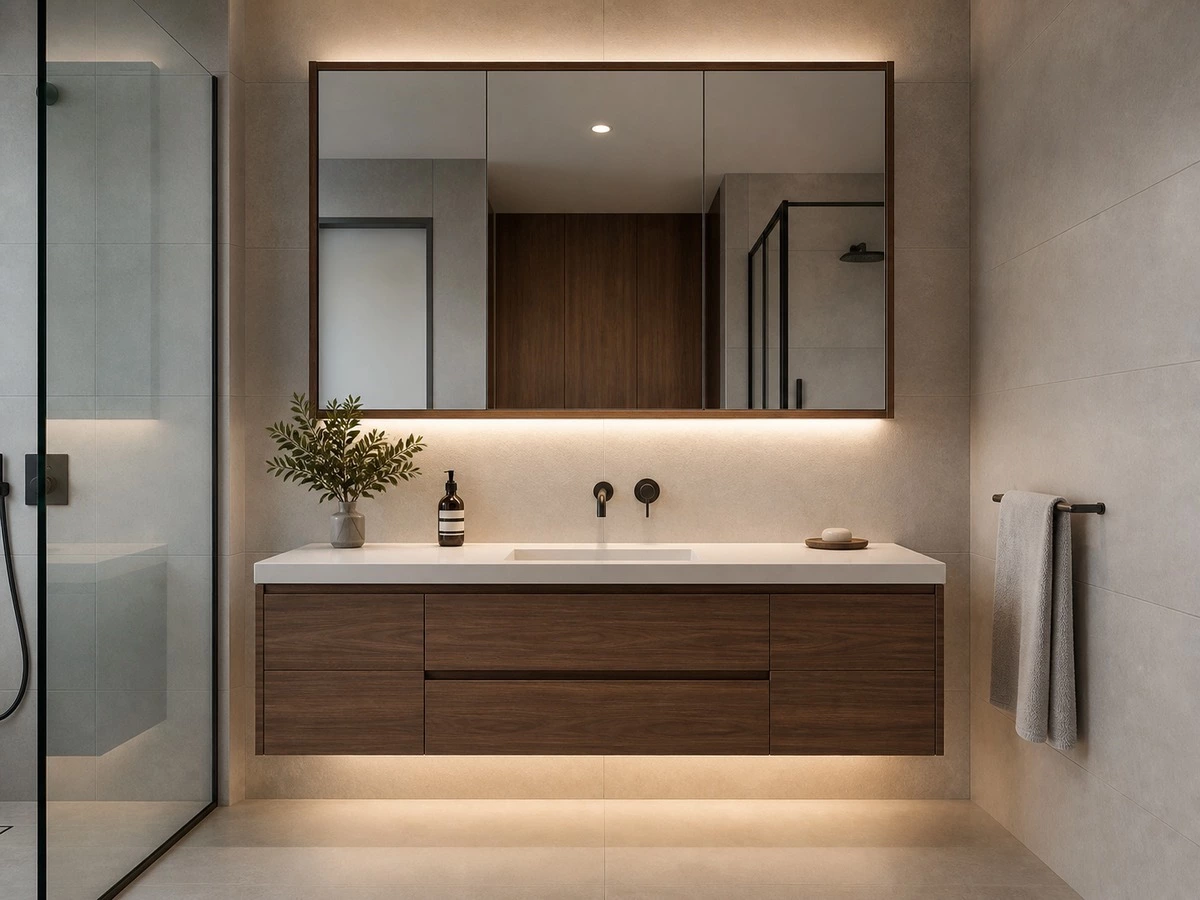
A wall-mounted vanity has several different height references. The cabinet-box height, countertop height, basin-rim height, mirror position, and clearance below the cabinet are related but not identical. The approved drawing should identify each one from the finished floor level.
| Planning Item | What It Controls | Buyer Check Before Approval | Risk if Missed |
|---|---|---|---|
| Finished floor level | Reference point for the entire installation | Confirm tiles, adhesive, waterproofing, and final floor build-up | Incorrect installed height |
| Countertop height | Handwashing and grooming comfort | Review the main users and the selected basin type | The counter is uncomfortable to use |
| Basin-rim height | Final wash area height and splash relationship | Confirm integrated, undermount, or vessel basin | Rim becomes too high or too low |
| Cabinet bottom clearance | Cleaning access and floating visual effect | Check the plumbing route and the desired floor gap | Difficult cleaning or exposed services |
| Drawer and drain coordination | Usable storage volume | Show drain, trap, valves, and drawer boxes in section | Lost drawer capacity or site rework |
| Wall support | Safe wall-mounted installation | Confirm wall type, reinforcement,t and fixing method | Unsafe or delayed installation |
Begin With the Finished Floor Level
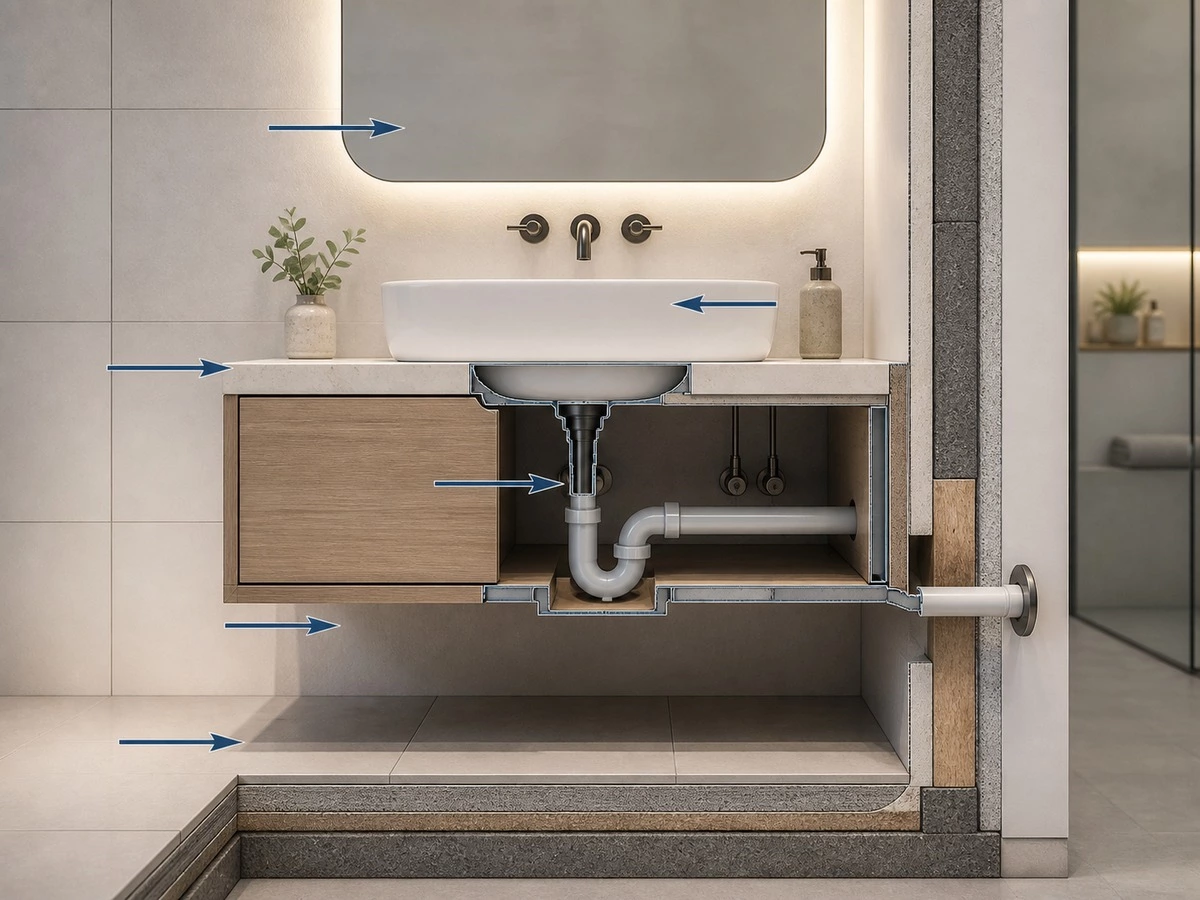
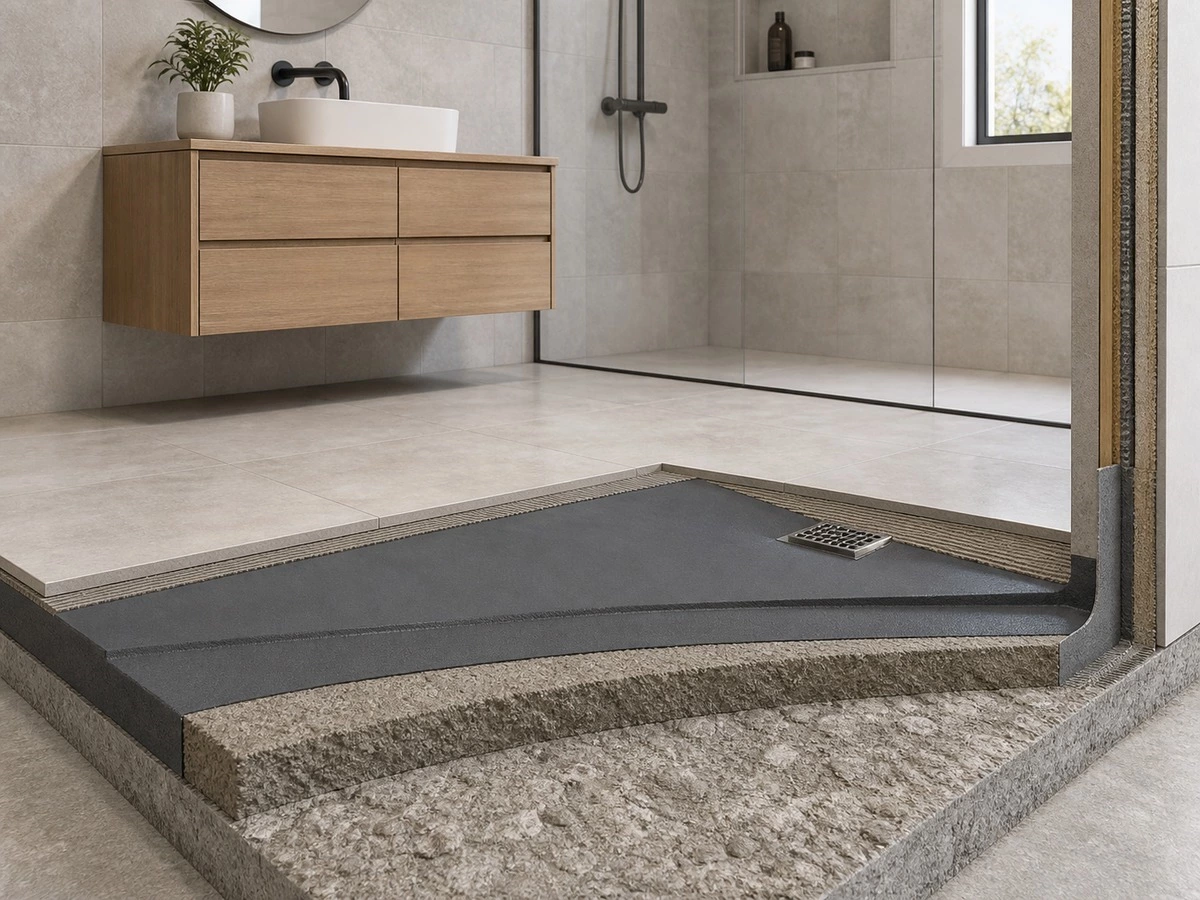
The finished floor is the most important reference for a floating bathroom vanity. It includes the final tile or stone surface and any project-specific floor build-up beneath it. If the vanity is measured from an unfinished slab, the final countertop and basin-rim height can change after waterproofing, adhesive, tiles, and thresholds are installed.
Record a clear finished-floor datum on the bathroom elevation. All related dimensions should refer back to that line: cabinet bottom, cabinet top, countertop, basin rim, mirror, outlet, light, drain, and plumbing positions. This protects the design when multiple trades work in sequence.
Coordinate the Vanity With Shower Zones and Drains
Bathrooms may include floor falls, wet zones, shower screens, thresholds, and floor drains. A floating vanity should not interrupt required drainage, block a service point, or sit in a location that receives more direct water exposure than the cabinet specification can reasonably handle. Review the position with the waterproofing and ventilation strategy rather than treating the vanity as a standalone furniture item.
Best for:
Bathroom renovations, multi-unit developments, villas, hotels, and whole-house custom projects.
Check:
Finished-floor build-up, tile thickness, waterproofing, floor slope, shower screen, door swing, drain position, and wall condition.
Risk:
Using rough-floor measurements can leave the installed vanity at the wrong height, even when the cabinet was manufactured accurately.
Choose the Right Floating Bathroom Vanity Height for the User
Countertop Height and Everyday Comfort
There is no single floating bathroom vanity height that suits every bathroom. User height, basin type, grooming habits, children, ageing family members, and the intended project type all matter. A useful design step is to mark the proposed countertop and basin-rim position on the wall or a temporary mock-up before final approval. This makes it easier to test comfort from a standing position than by judging a drawing alone.
For a shared household, aim for a comfortable compromise that works for the primary users. For hospitality or rental projects, prioritize a robust, understandable layout and project-specific requirements. Where accessibility requirements apply, they must be checked by the responsible project team rather than assumed from a residential vanity design.
Integrated, Undermount and Vessel Basins
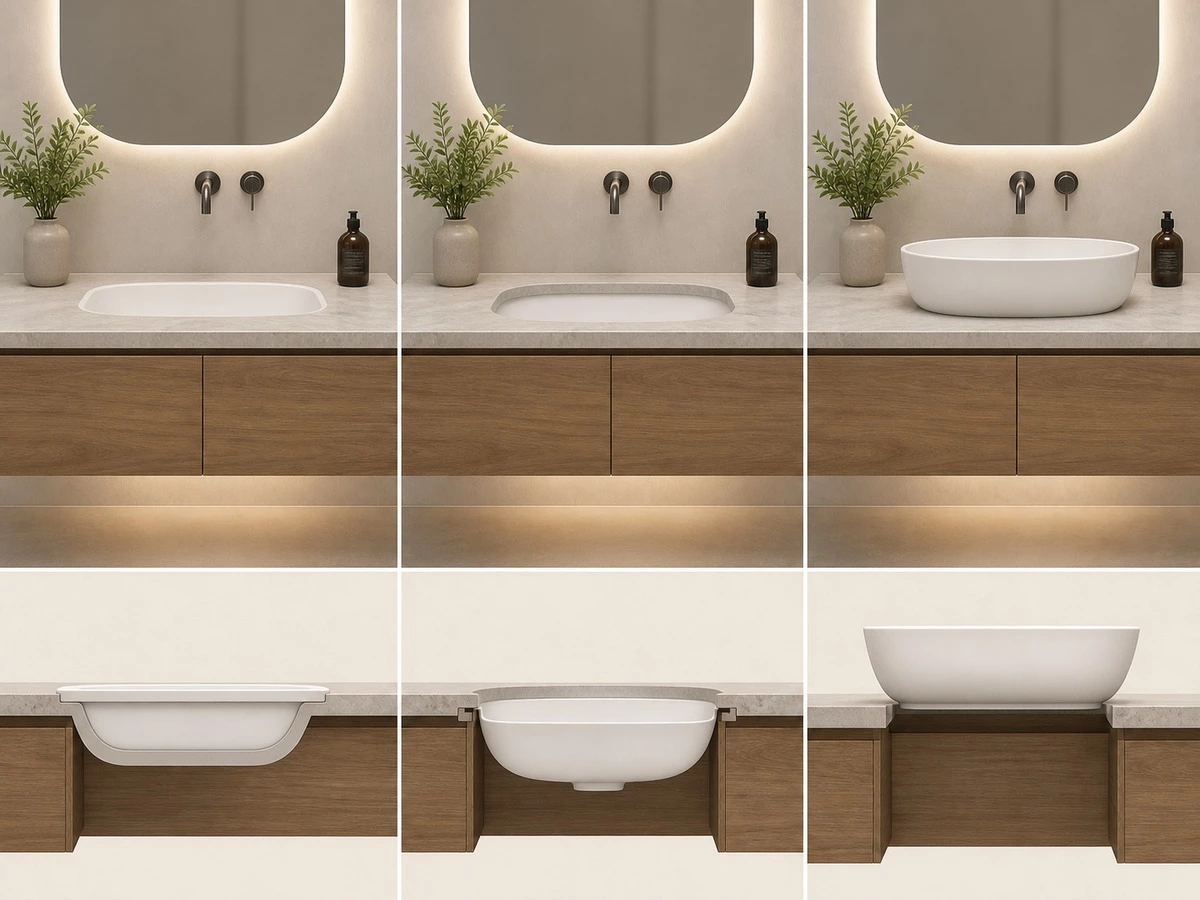
The basin type directly affects the final handwashing height. An integrated or undermount basin keeps the rim close to the countertop plane. A vessel basin adds visible height above the counter, which may require the cabinet itself to sit lower than it would with an integrated basin. The faucet, splash zone, mirror, basin depth, and user comfort should be reviewed as one system.
Single Basin Versus Double Basin Layout
A double vanity can improve shared morning routines, but it also needs enough counter width, mirror area, plumbing coordination, and drawer space. A visually symmetrical double-basin design may still need an asymmetric internal layout if drain positions or daily storage needs differ. Confirm the selected basin models and plumbing points before the drawer layout is fixed.
Cabinet Bottom Clearance: Cleaning, Plumbing, and Visual Balance
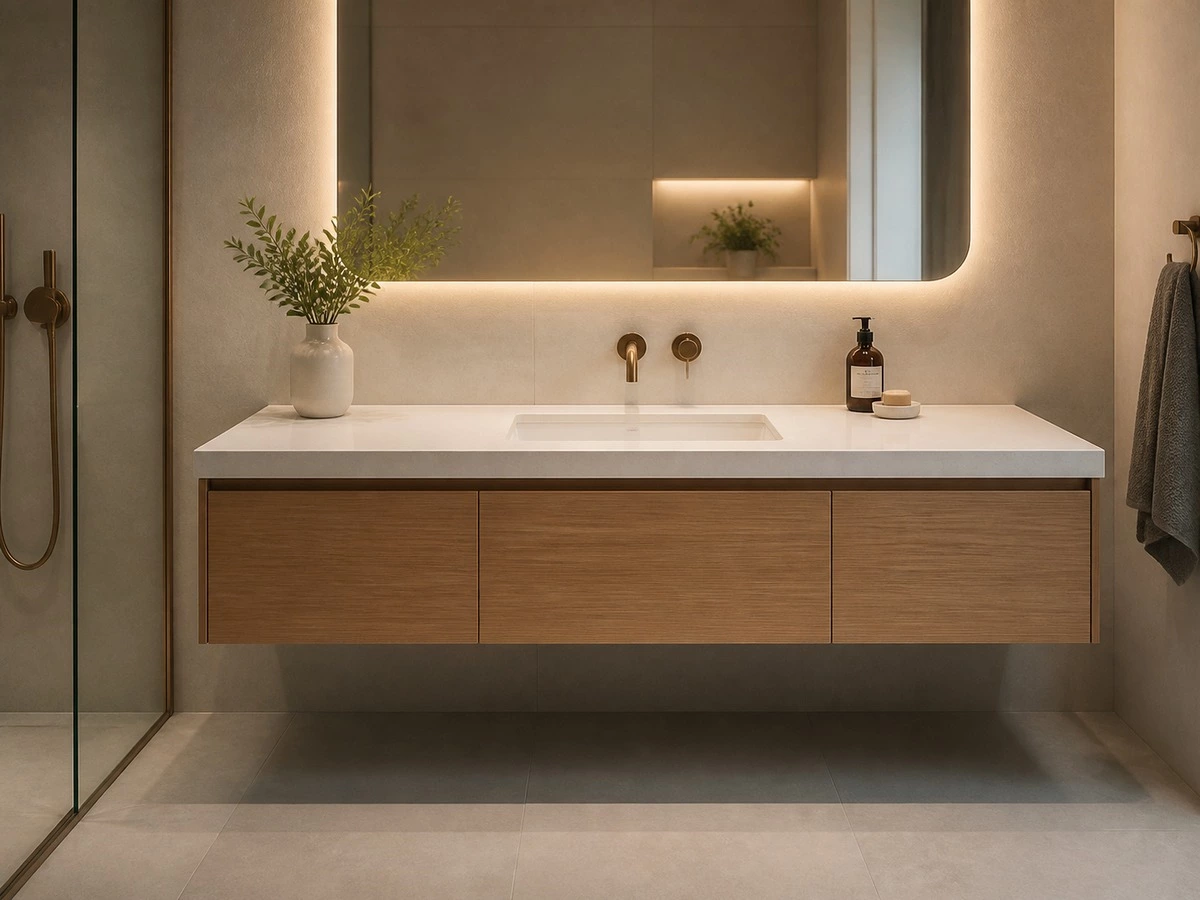
The open area beneath a wall-mounted vanity is one reason the design feels light and modern. It shows more floor, makes mopping easier, and can visually enlarge a compact bathroom. The floating gap must still work with the plumbing route, wall tiles, cleaning tools, and intended cabinet proportions. A very small gap may lose the practical and visual benefit of a wall-mounted design.
Hide Plumbing Without Sacrificing Drawers
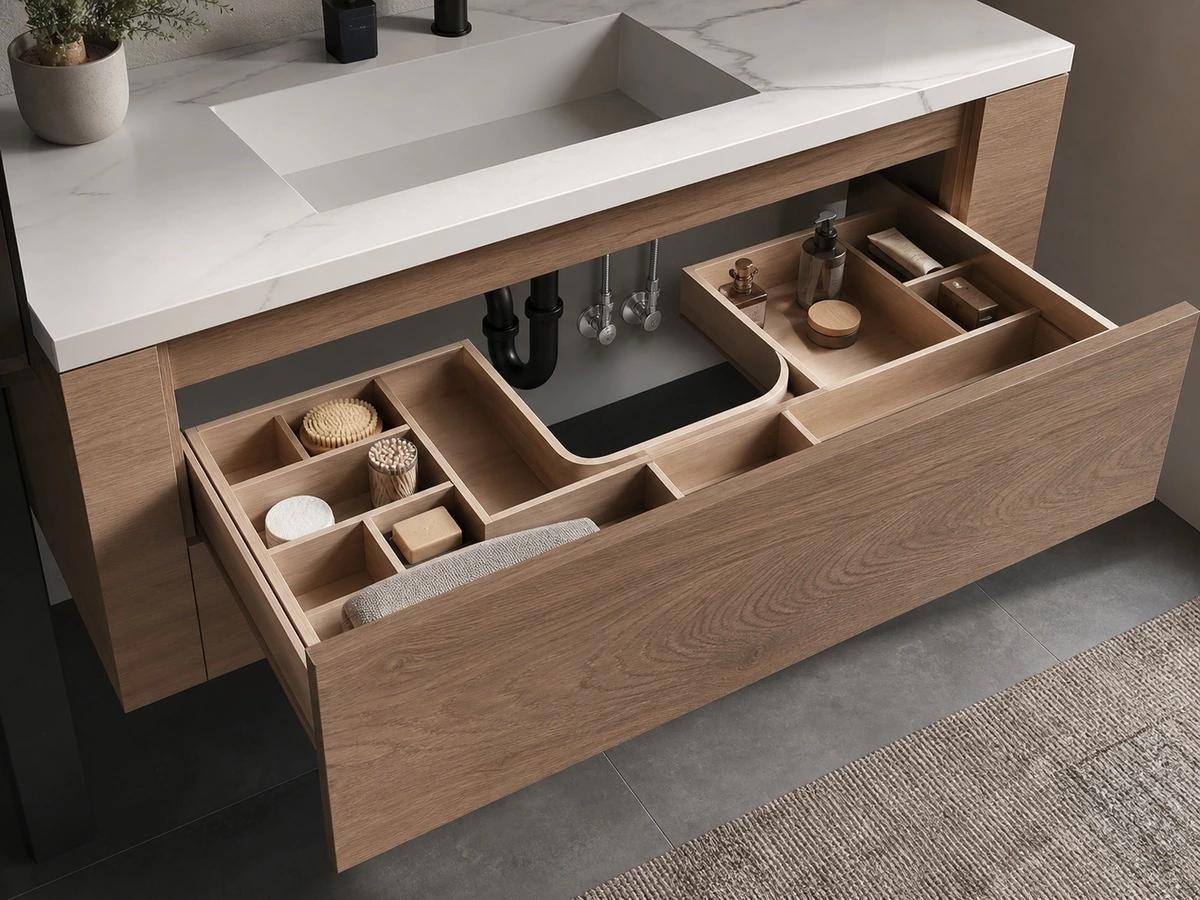
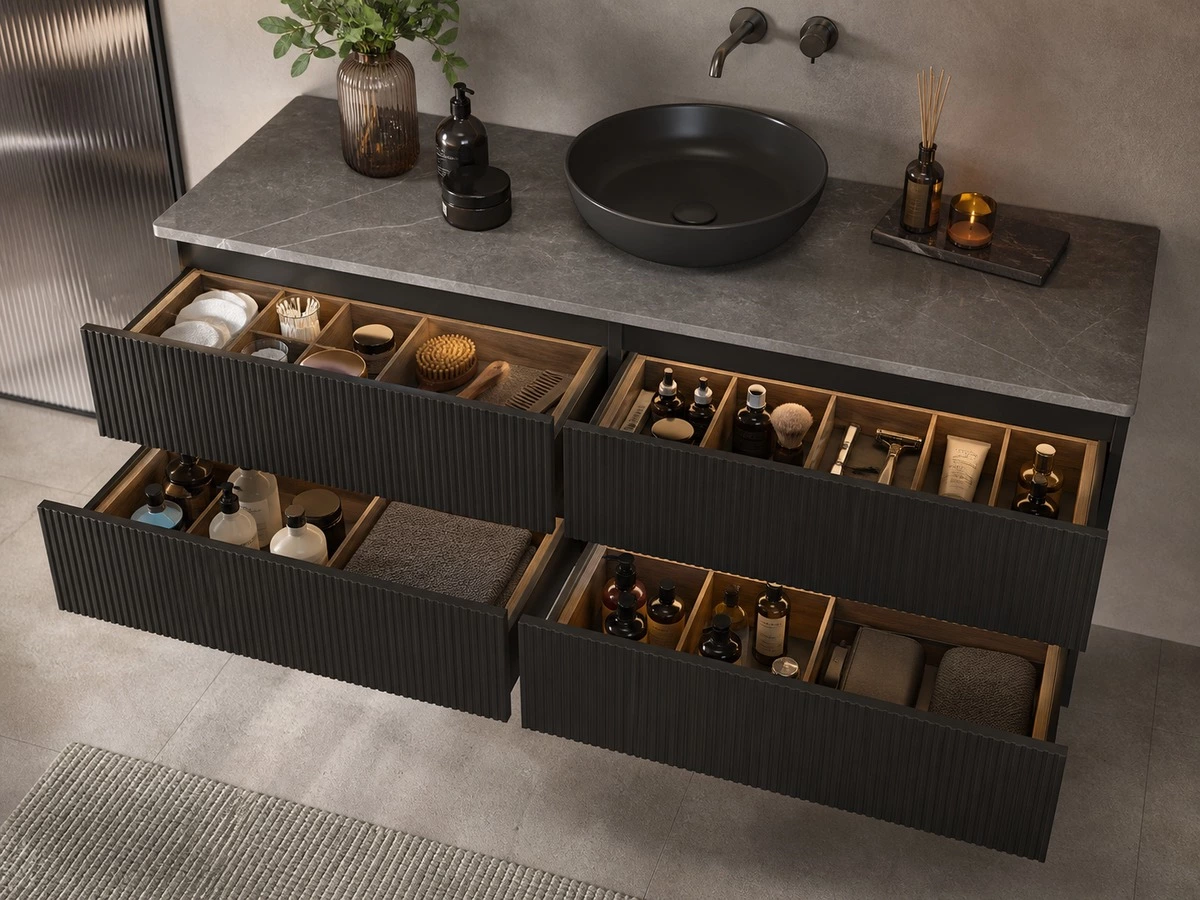
Drain traps, valves, and water-supply lines often compete with the most useful storage area: the upper drawers. Custom drawer boxes can be shaped around plumbing with U-shaped cutouts, divided compartments, shallower drawers, or removable service panels. The right solution depends on the actual plumbing location. Never finalize deep drawer construction before the drain centerline and supply positions are confirmed.
Best for:
Minimalist bathrooms, powder rooms, main bathrooms, compact ensuites, and projects requiring easier floor cleaning.
Check:
Drain trap, supply valves, service access, drawer box construction, floating gap, wall finish, and cleaning routine.
Risk:
Ignoring plumbing in the cabinet drawing can turn a full-depth storage drawer into a shallow or unusable box during installation.
Wall Support and Fixing Conditions for a Floating Vanity
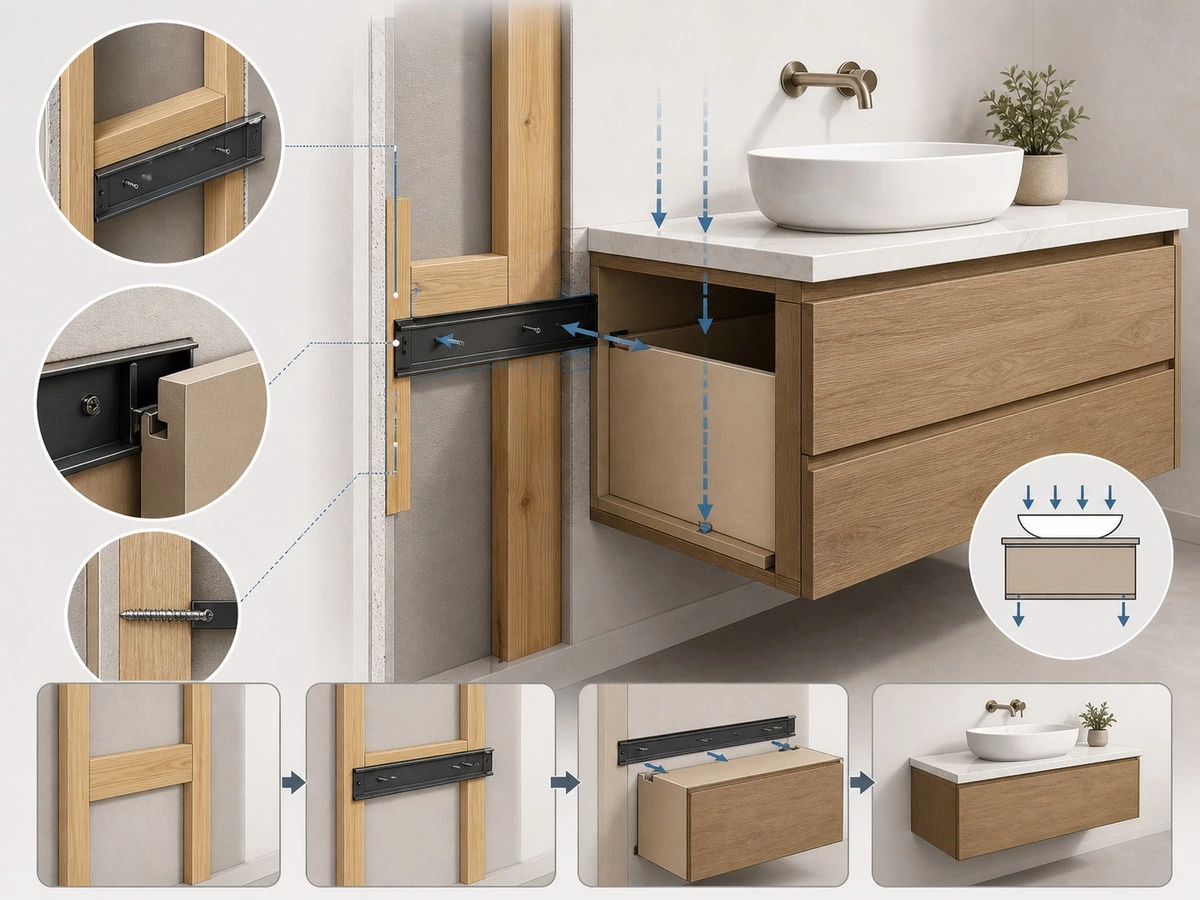
A floating vanity transfers the cabinet, countertop, basin, faucet, stored items, and daily-use loads to the wall and fixing system. The wall is therefore part of the cabinet design. Wall type, reinforcement, mounting rail or brackets, cabinet construction, countertop weight, basin weight, and installation method should be confirmed before tile and cabinet installation are complete.
Coordinate Heavy Countertops and Double Basins
A compact single-basin vanity with a lightweight countertop is not the same project as a wide double vanity with a heavy stone surface and two basins. The support approach should reflect the approved cabinet and material specifications. Do not use universal load assumptions; the responsible installer and project team must confirm a suitable fixing method for the actual wall conditions and selected components.
Allow Installation Tolerance
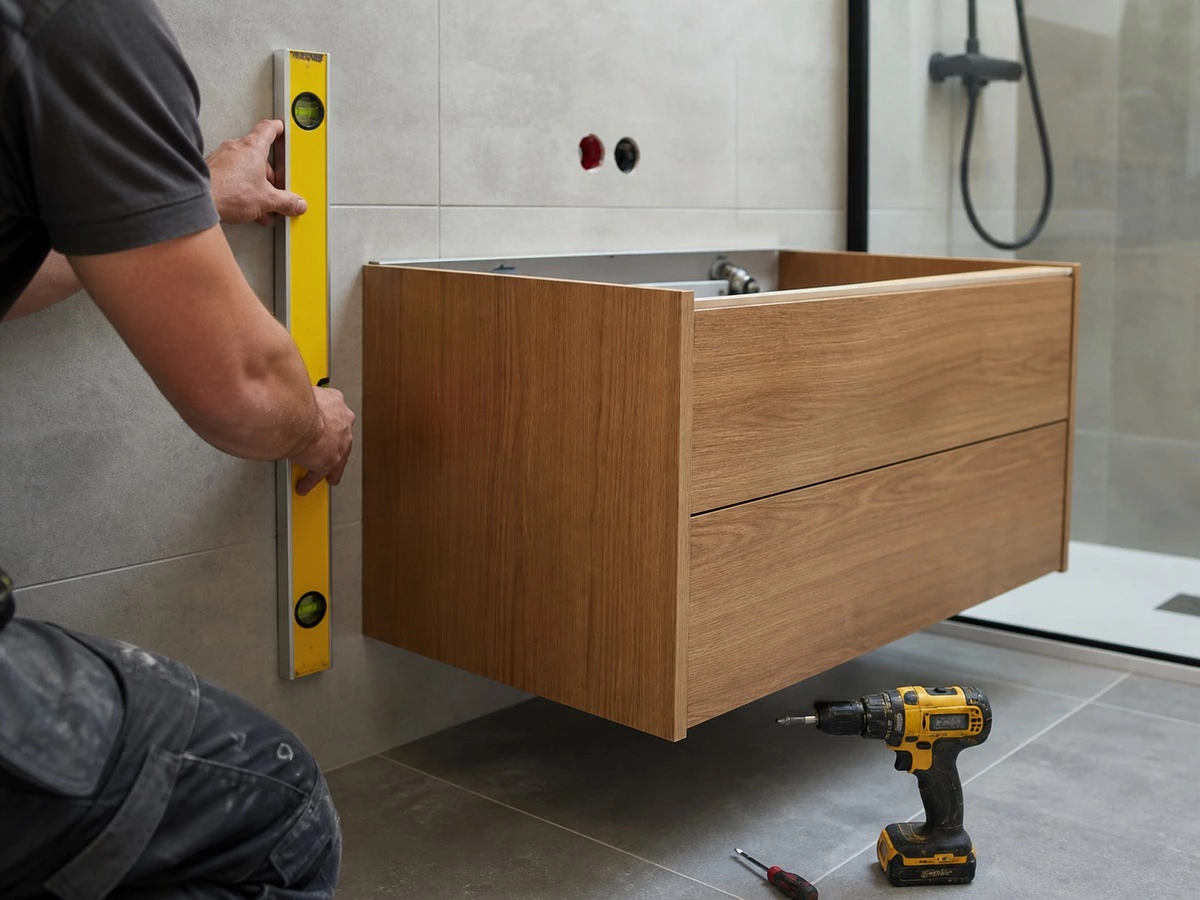
Walls are not always perfectly plumb, corners may be out of square, and tile thickness may vary. Adjustable hanging hardware, fillers, service gaps, and accurate site measurements help the finished cabinet align with the wall and countertop. The cabinet section should show how the vanity meets tile, skirting, wall panels, and adjacent tall storage.
Mirror, Lighting and Power Coordination
Mirror Height and Sightline
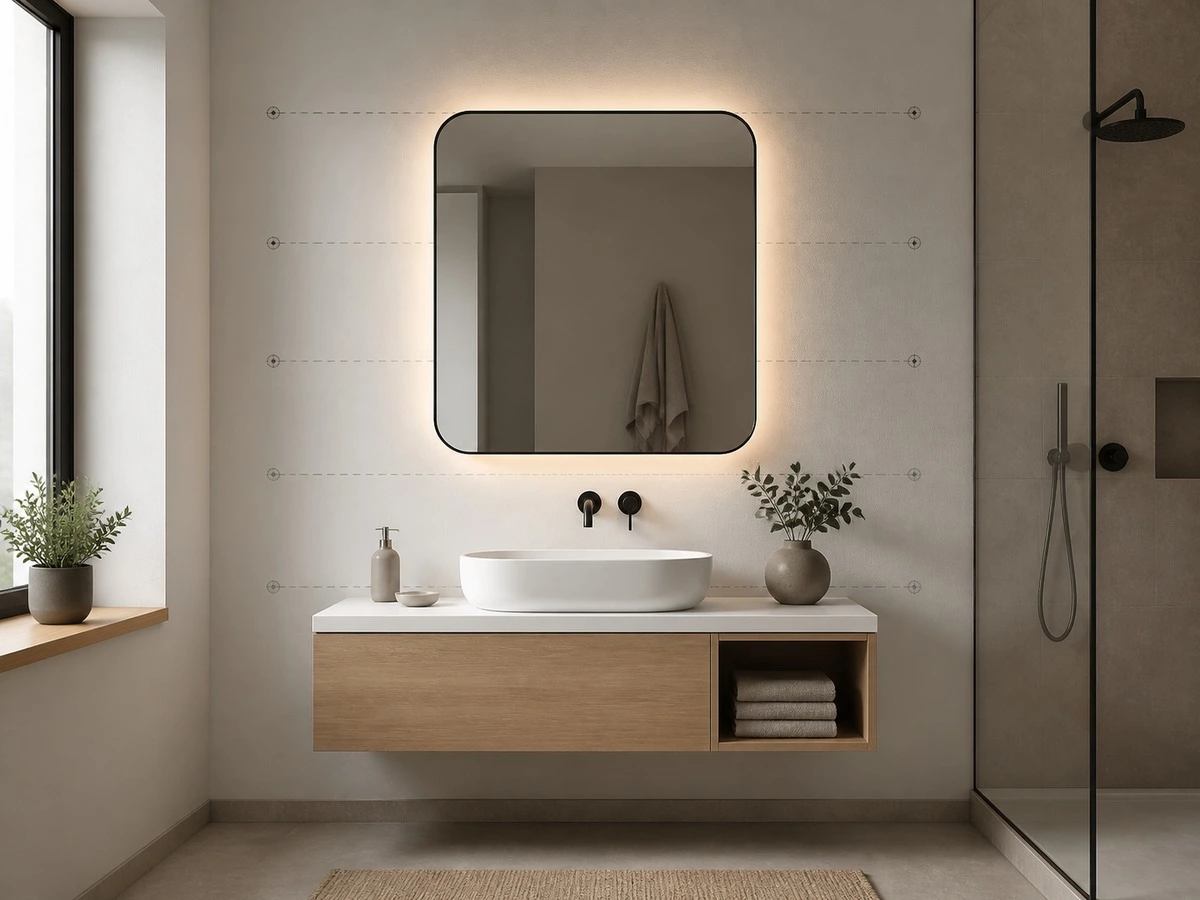
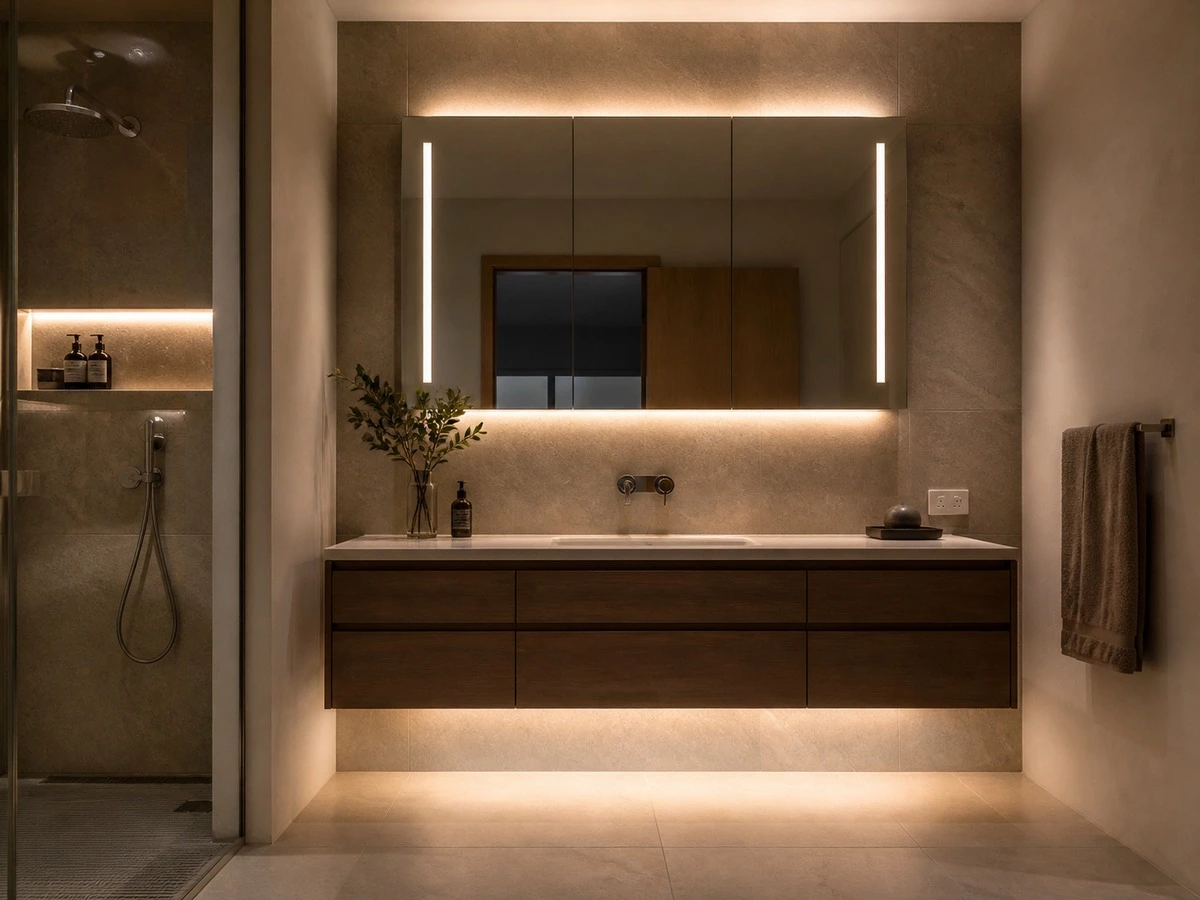
The mirror should work for the people using it, not only for the wall composition. Its height, width, and lower edge should be coordinated with the countertop, basin, faucet, backsplash, user sightlines, and any integrated lighting. If the vanity includes a mirror cabinet, check the door opening, internal depth, and clearance to faucets or side walls.
Lighting for Grooming and Daily Use
Bathroom lighting should support grooming, handwashing, cleaning, and evening use. Face-level task lighting can reduce shadows; ambient lighting supports the room; under-vanity lighting can reinforce the floating effect and improve nighttime navigation. Position fixtures so they do not create harsh reflections on mirrors, glossy cabinet doors, or polished stone.
Outlet and Driver Access
Outlets, mirror power, LED drivers, switches, and cable paths should be planned before wall finishes and cabinetry cover the installation zone. A driver hidden without access can create avoidable future maintenance work. Electrical work must be coordinated with appropriately qualified local professionals and the relevant project requirements.
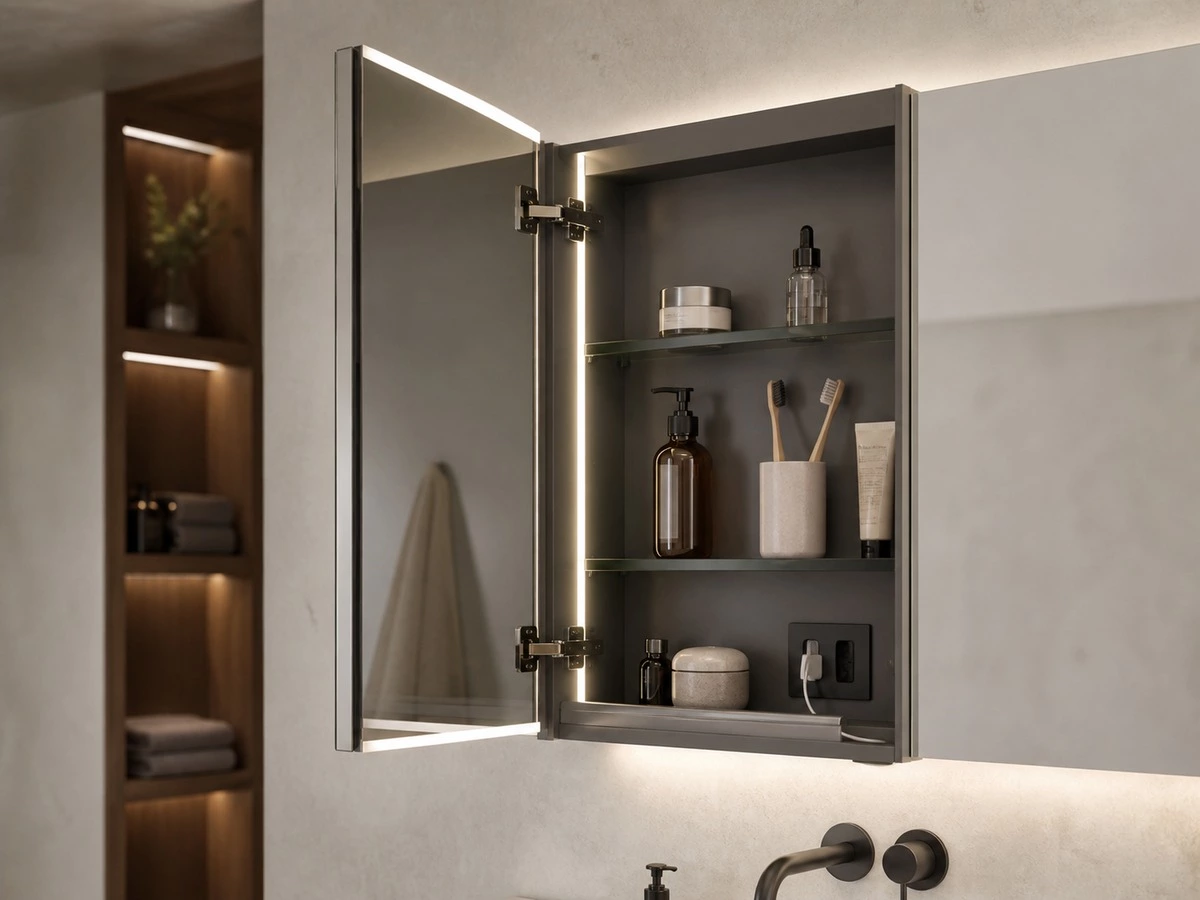
Storage Dimensions Inside a Floating Bathroom Vanity
Drawers for Daily Toiletries
Floating vanities are often more useful with drawers than with large hinged-door compartments. Drawers can organize toothbrushes, skincare, cosmetics, shaving items, hair tools, and small cleaning products. The upper drawer must coordinate with drain and supply lines, while lower drawers can hold taller bottles and less frequently used items. Internal organizers should follow the household’s actual routine rather than a generic accessory list.
Open Shelves and Towel Storage
Open shelves can hold folded towels, baskets, and selected display objects, but they should not become a damp overflow zone. Consider the bathroom’s ventilation, shower proximity, and cleaning habits before choosing exposed shelving. In a compact room, a well-proportioned open shelf can lighten the cabinet; in a busy family bathroom, additional closed storage may be more practical.
Tall Side Cabinets
A tall cabinet can add significant storage without making the vanity itself too deep or too wide. It can hold towels, toiletries, cleaning supplies, and spare items. Check door swing, shower-screen clearance, access height, ventilation, and the relationship to the mirror before placing tall storage beside a floating vanity.
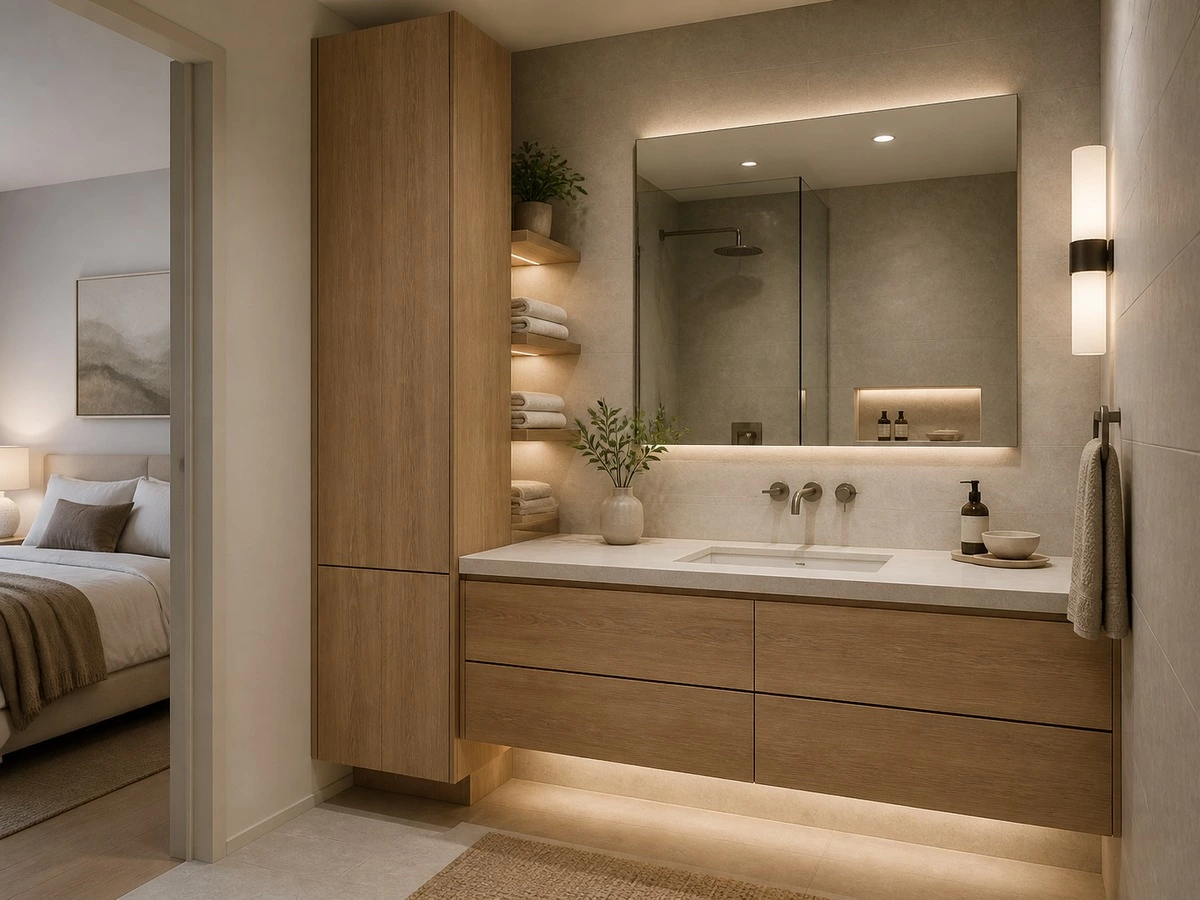
Material and Moisture Planning Around a Floating Vanity
A floating vanity is not only a door style. It is a cabinet system exposed to humidity, cleaning routines, splashes, wall penetrations, countertops, basins, hardware, and ventilation conditions. The carcass, door panels, edge treatment, cutouts, wall interfaces, countertop joint, and installation sealing all influence long-term maintenance.
Select materials according to the actual bathroom environment. Review shower proximity, ventilation, expected water exposure, cleaning products, humidity, and the position of exposed cut edges or openings. Standing water near panel edges, poor sealing around penetrations, and inaccessible maintenance zones are common risks. For broader bathroom material and design planning, see ALLURE’s custom bathroom vanity cabinet guide.
Best for:
Ensuites, family bathrooms, humid climates, hotel bathrooms, and vanity walls close to shower areas.
Check:
Ventilation, shower proximity, material specification, edge treatment, countertop joint, wall condition, plumbing openings, and installation sealing.
Risk:
Treating the vanity as a decorative cabinet rather than a moisture-exposed system can create swelling, finish damage, or difficult maintenance.

Floating Vanity Height by Bathroom Type
Compact Powder Rooms
A compact powder room often needs a narrow cabinet, a carefully sized basin, a mirror cabinet, and limited but efficient storage. The vanity height, depth, door swing, and basin projection should be coordinated with the room entrance and handwashing clearance. A wall-mounted design can help preserve visible floor area, but it must still leave a workable service route and cleaning access.
Family Bathrooms
Family bathrooms need storage, durable surfaces, easy cleaning, and layouts that work for multiple users. The vanity should balance adult comfort with the needs of children without relying on a generic one-size solution. Drawers, organizers, towel storage, and accessible daily-use zones often have more long-term value than adding decorative open shelves.
Main Bathrooms and Double Vanities
Double vanities require two basin zones, suitable counter space, mirror coordination, drawer planning, plumbing access, and wall support. Visual symmetry is valuable, but the internal cabinet layout should remain practical. Confirm each basin, drain, faucet, electrical point, and drawer box before approving a double-vanity elevation.
Hospitality and Rental Projects
Hospitality and rental bathrooms benefit from durable finishes, accessible maintenance, simple storage, coordinated lighting, and components that can be serviced or replaced without damaging the full vanity wall. Project-specific accessibility, plumbing, electrical, and durability requirements should be reviewed early by the responsible design and construction teams.
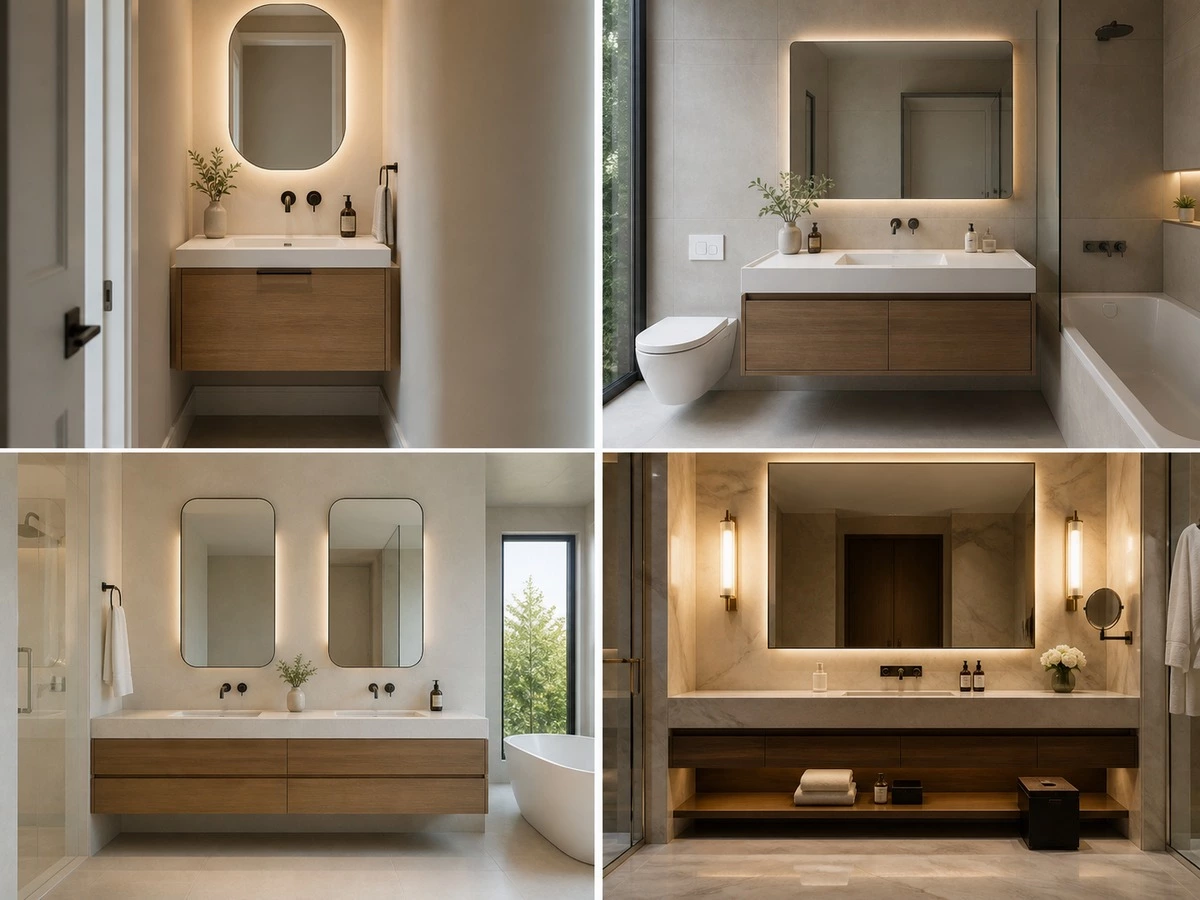
Regional and Project Checks Before Manufacturing
International bathroom vanity projects need material, installation, and documentation checks appropriate to the destination. For United States projects, confirm local plumbing and electrical coordination, wall construction, and applicable composite-wood documentation. The U.S. Environmental Protection Agency identifies finished goods containing regulated composite wood products within its composite wood products framework; review the current EPA composite wood products guidance when relevant to the destination-market specification.
For Australia and New Zealand, review humidity, ventilation, waterproofing, wall construction, and bathroom heating conditions. For Middle East projects, consider heat, air-conditioning cycles, water use, finish stability, and delivery or installation conditions. For European projects, match material documentation, emissions expectations, electrical coordination, and installation details to the written project specification. Do not assume commercial accessibility requirements from a residential layout; these must be confirmed by the responsible project team.
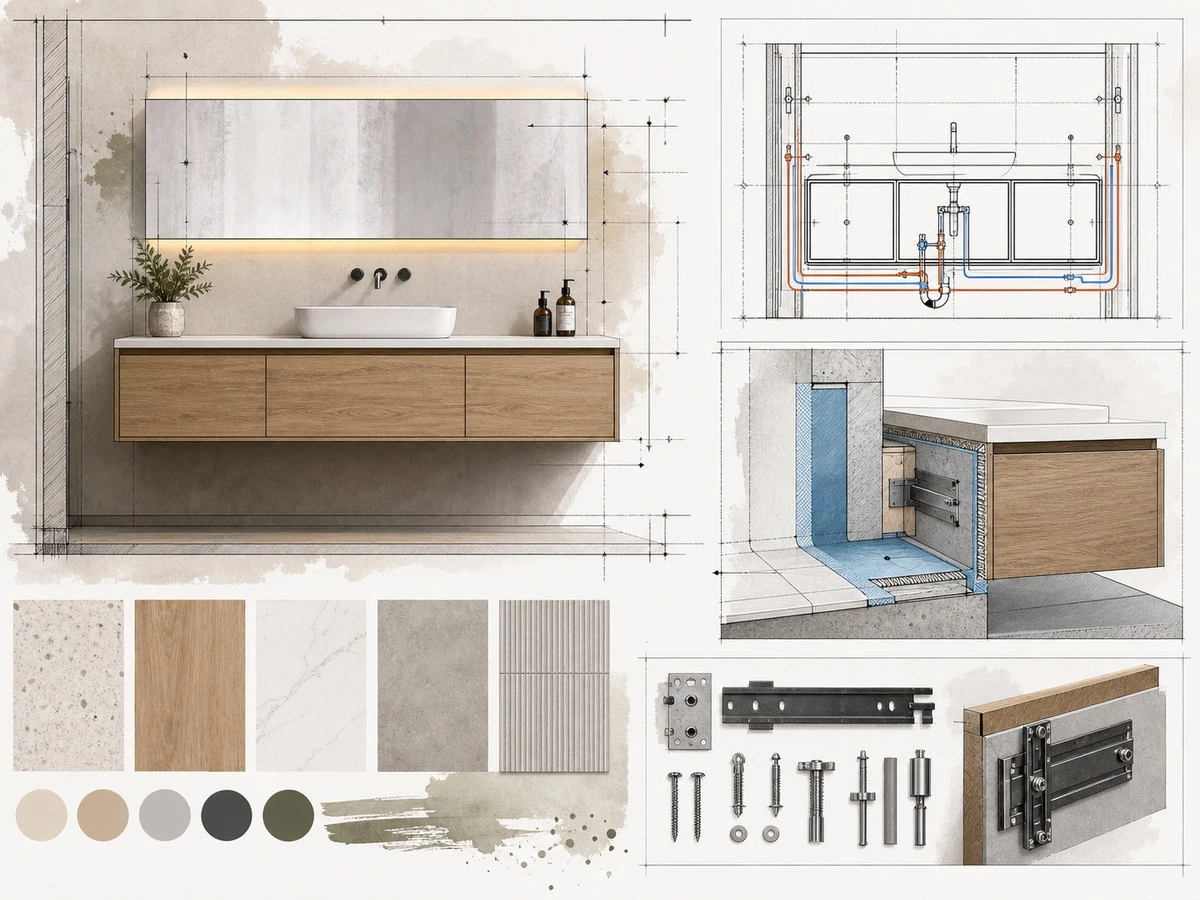
Floating Bathroom Vanity Installation Checklist
Approve the bathroom elevation and cabinet section before manufacturing. This checklist helps buyers review the technical interfaces that a front rendering cannot show.
| Inspection Item | What to Approve | Buyer Acceptance Question | Risk if Missed |
|---|---|---|---|
| Finished floor datum | Final tile and floor reference level | Are all installation dimensions measured from the finished floor? | Wrong vanity height |
| Vanity top and basin | Countertop, basin rim, and faucet relationship | Does it suit users and the selected basin type? | Uncomfortable daily use |
| Plumbing route | Drain, trap, valves,s and supply lines | Can drawers operate and services remain accessible? | Lost storage or rework |
| Wall support | Wall type, reinforcement,nt and fixing method | Is the wall prepared for the approved vanity configuration? | Unsafe installation |
| Bottom clearance | Floating gap, cleaning access,ess and visual proportion | Is the gap practical as well as attractive? | Difficult cleaning |
| Mirror and lighting | Sightline, task lighting, and reflection control | Can users groom comfortably? | Poor visibility |
| Electrical coordination | Outlets, LED drivers, switches,s and access | Are power components accessible after installation? | Visible wiring or difficult service |
| Material and sealing | Board, edge treatment, countertop joint,nt and wall interface | Is the system suitable for humidity and cleaning? | Moisture damage |
| Site tolerance | Wall plumbness, tile thickness, corners, and fillers | Are real site conditions included in the drawing? | Misalignment after installation |
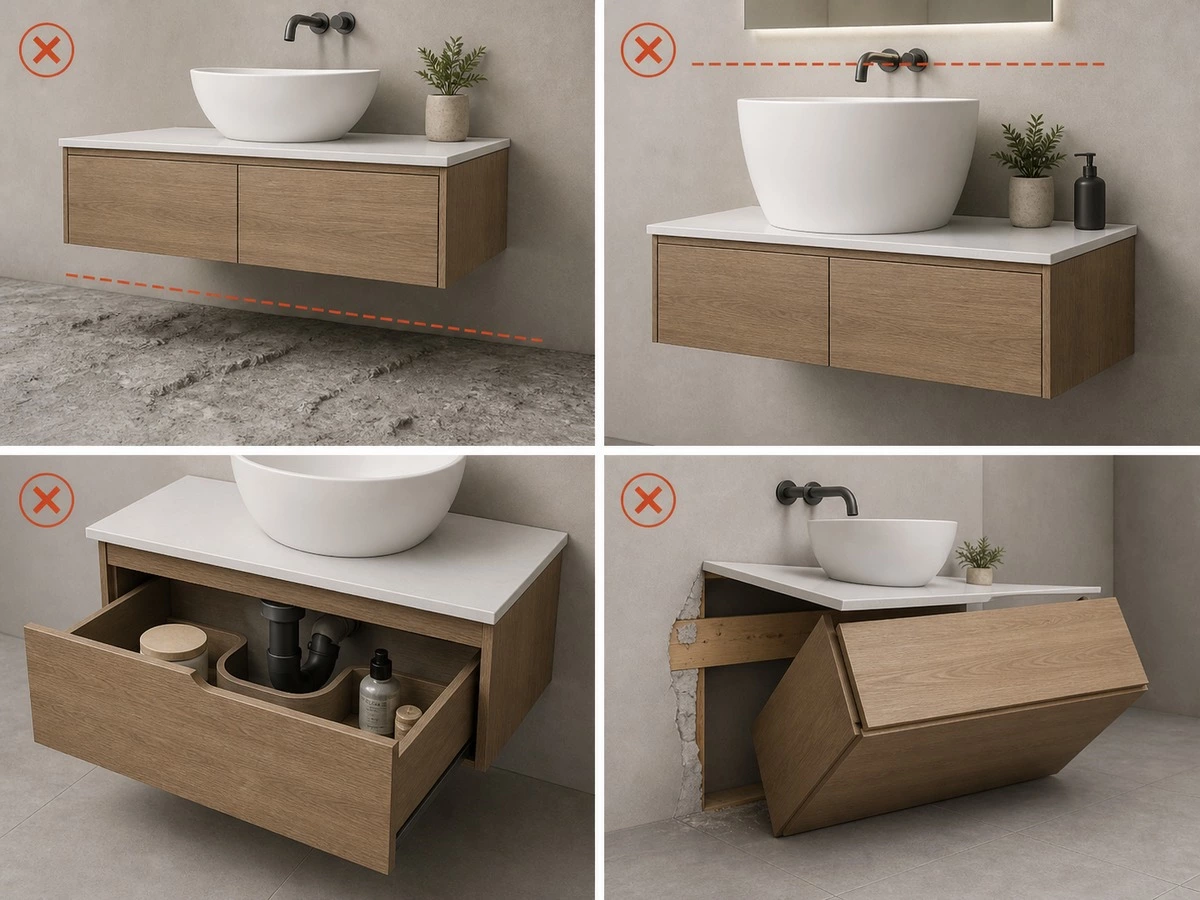
Common Floating Bathroom Vanity Height Mistakes
Measuring From the Rough Floor
Rough-floor dimensions can be changed by waterproofing, tile, adhesive, floor build-up, and thresholds. Use a clear finished-floor datum and coordinate every bathroom elevation dimension from that point.
Forgetting That a Vessel Basin Adds Height
A vessel basin can change the final wash area more than expected. Review cabinet height, basin rim, faucet, mirror, splash zone, and user comfort together instead of selecting the cabinet height before the basin model is confirmed.
Designing Deep Drawers Before Confirming Plumbing
Plumbing often occupies the upper drawer zone. Confirm drain, trap, supply valves, and service access before drawer boxes are manufactured. A well-planned U-shaped drawer is more useful than a full-depth drawer that must be cut down on site.
Treating the Wall as an Afterthought
A floating vanity depends on the wall and the fixing system. Confirm wall construction, reinforcement, selected countertop, basin, cabinet width, and installation method before tiling and final cabinet installation.
Adding Mirror Lighting After Finishes Are Complete
Mirror lighting requires wiring, a driver location, switch coordination, and maintenance access. Planning it after wall panels and cabinets are installed can lead to visible cables, inaccessible components, or compromised lighting quality.
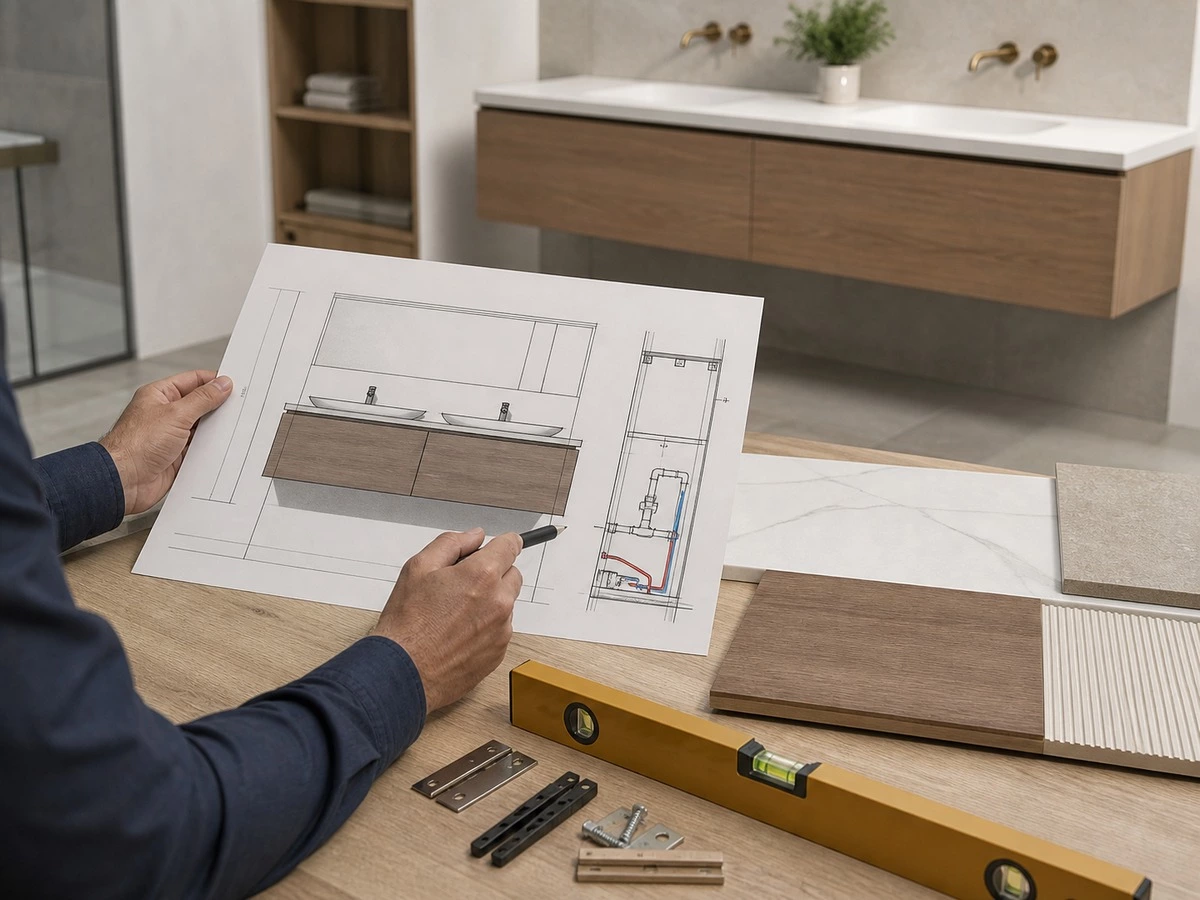
How ALLURE Coordinates a Floating Bathroom Vanity Project
A practical vanity project starts with final bathroom measurements, finished-floor level, selected basin and faucet, mirror requirements, storage brief, plumbing location, power points, materials, and wall condition. The design can then show the vanity height, floating gap, cabinet section, drain route, drawers, mirror, lighting, countertop, and fixing interfaces. Approving those details before production protects both the cabinet design and the installation sequence.
For related planning, explore ALLURE’s custom bathroom vanity cabinet guide, bathroom vanity trends, bathroom vanity storage ideas, and bathroom cabinet solutions. For project coordination, review the order process and factory video.
Frequently Asked Questions About Floating Bathroom Vanity Height
1. What is a comfortable floating bathroom vanity height?
A comfortable height depends on the finished floor, the people using the bathroom, the selected basin, and the intended daily routine. The countertop and final basin rim should be reviewed together, especially when a vessel basin is used. A practical approach is to mark the proposed height on the wall or use a temporary mock-up before approving the drawing. Do not select the height only because it looks balanced within a rendering.
2. Should vanity height be measured from the finished floor?
Yes. The finished floor is the correct reference because tile, waterproofing, adhesive, thresholds, and other floor layers can change the installed level from the rough construction floor. The cabinet bottom, countertop, basin rim, mirror, outlet, and lighting positions should all be referenced to the agreed finished-floor datum. This helps different trades coordinate the bathroom accurately and reduces the risk of an incorrect final vanity height.
3. How does a vessel basin affect floating vanity height?
A vessel basin sits above the countertop, so it adds visible height to the final handwashing area. This can mean the cabinet itself needs a different installation position than it would with an integrated or undermount basin. Review the basin depth, rim height, faucet, splash zone, mirror position, and main users together. Confirm the actual basin model before the vanity height, cabinet box, and countertop cutout are released for manufacturing.
4. How much clearance should be left below a floating vanity?
The suitable clearance depends on the desired visual effect, cleaning routine, plumbing route, wall finish, cabinet proportions, and room size. The open floor area should be large enough to provide the practical benefit of a wall-mounted cabinet while still allowing services to be concealed or managed correctly. Confirm the gap in the cabinet section, including the drain route and wall connections, rather than treating it as only a decorative dimension.
5. Can a floating vanity support a heavy stone countertop?
It can be possible when the wall condition, reinforcement, cabinet construction, fixing system, countertop, basin, and installation method have been reviewed together. A wide double vanity with a heavy stone top creates different requirements from a compact single-basin unit. Do not rely on a generic load assumption. The responsible project team and installer should confirm the support method for the actual wall and approved vanity configuration before installation begins.
6. How are drawers designed around bathroom plumbing?
Bathroom drawers can be shaped around drains and supply lines using U-shaped cutouts, divided boxes, shallower upper drawers, removable service panels, or a different cabinet layout. The correct approach depends on the actual drain centerline, trap, valves, and pipe route. Show these elements on the cabinet section before production. A custom drawer arrangement can preserve useful storage, but only when plumbing is confirmed early rather than adjusted after cabinetry arrives on site.
7. What wall support is needed for a floating bathroom vanity?
The required support depends on wall type, reinforcement, cabinet width, countertop weight, basin weight, stored items, fixing rail or bracket system, and installation method. A floating vanity transfers its load to the wall, so the wall is part of the cabinet system. Confirm the site condition and support approach with the responsible project team and installer. Do not assume every tiled wall or partition has the same capacity for wall-mounted cabinetry.
8. How high should a mirror be above a floating vanity?
Mirror height should be coordinated with the actual users, the vanity countertop, basin rim, faucet, backsplash, lighting, and room composition. It should provide a useful reflection for daily grooming instead of being positioned only for visual symmetry. If a mirror cabinet is used, also review door opening, internal depth, side-wall clearance, lighting, power access, and the relationship between the mirror’s lower edge and the basin or faucet.
Final Takeaway
The right floating bathroom vanity height begins with the finished floor and is then coordinated with the basin, users, plumbing, drawers, mirror, lighting, materials, and wall support. Approve a dimensioned elevation and section drawing before manufacturing. That single step helps ensure the finished vanity is comfortable to use, practical to maintain, and suitable for the actual bathroom rather than only for a rendering.